
Last updated November 17, 2026
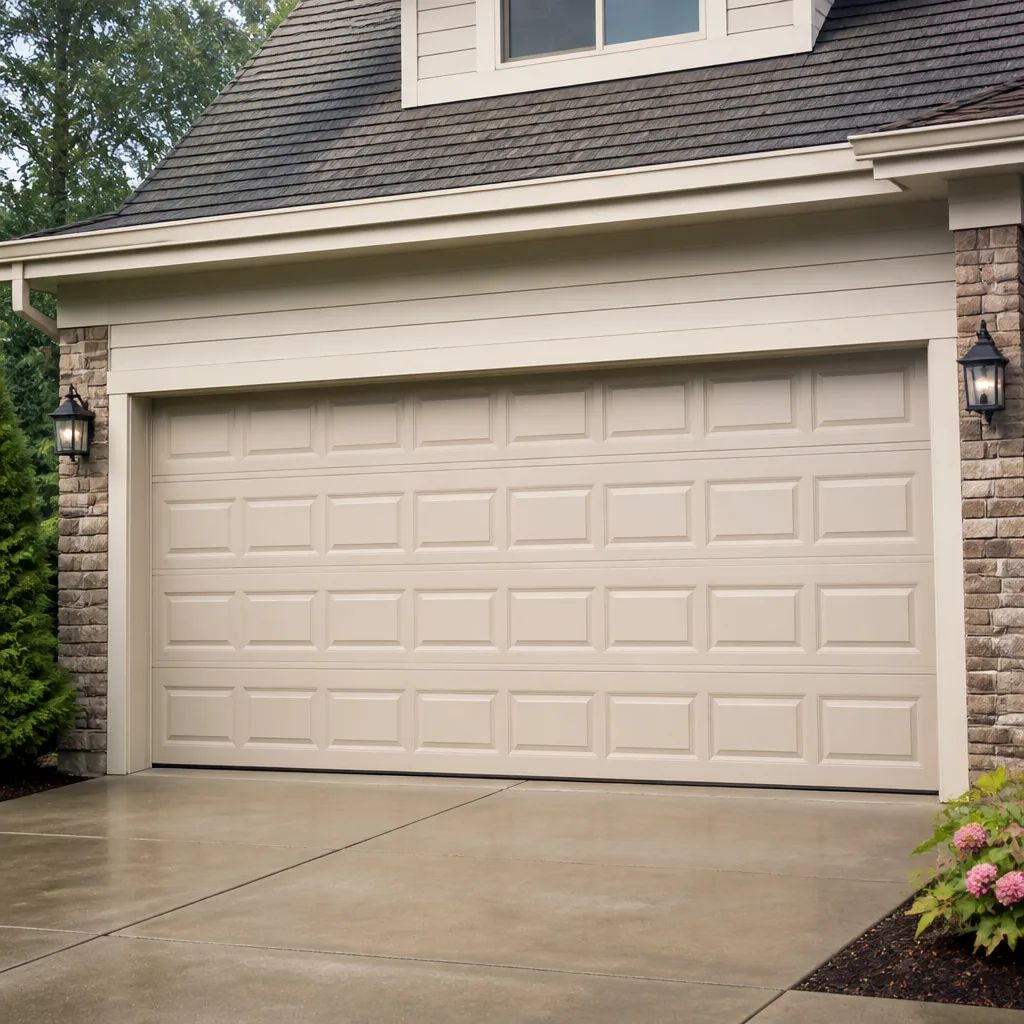 Raised-panel steel
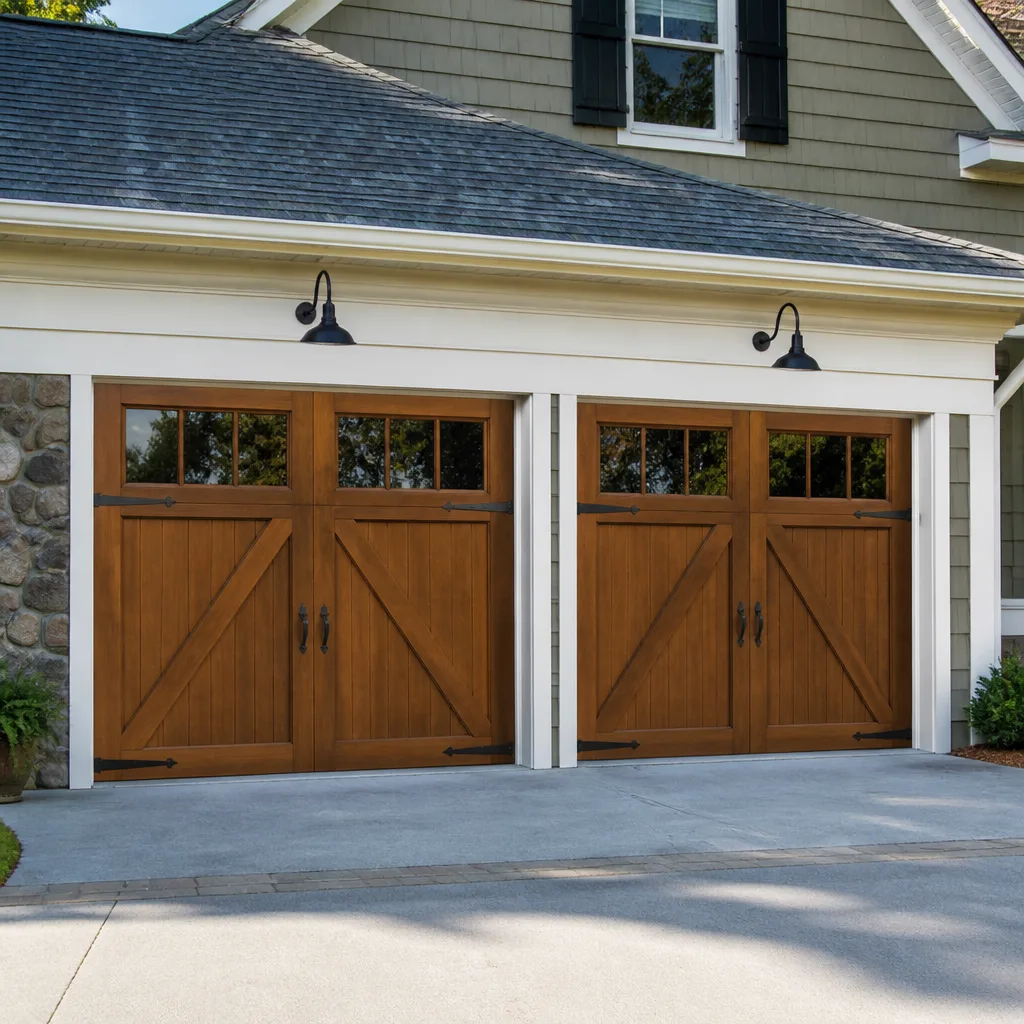 Carriage house
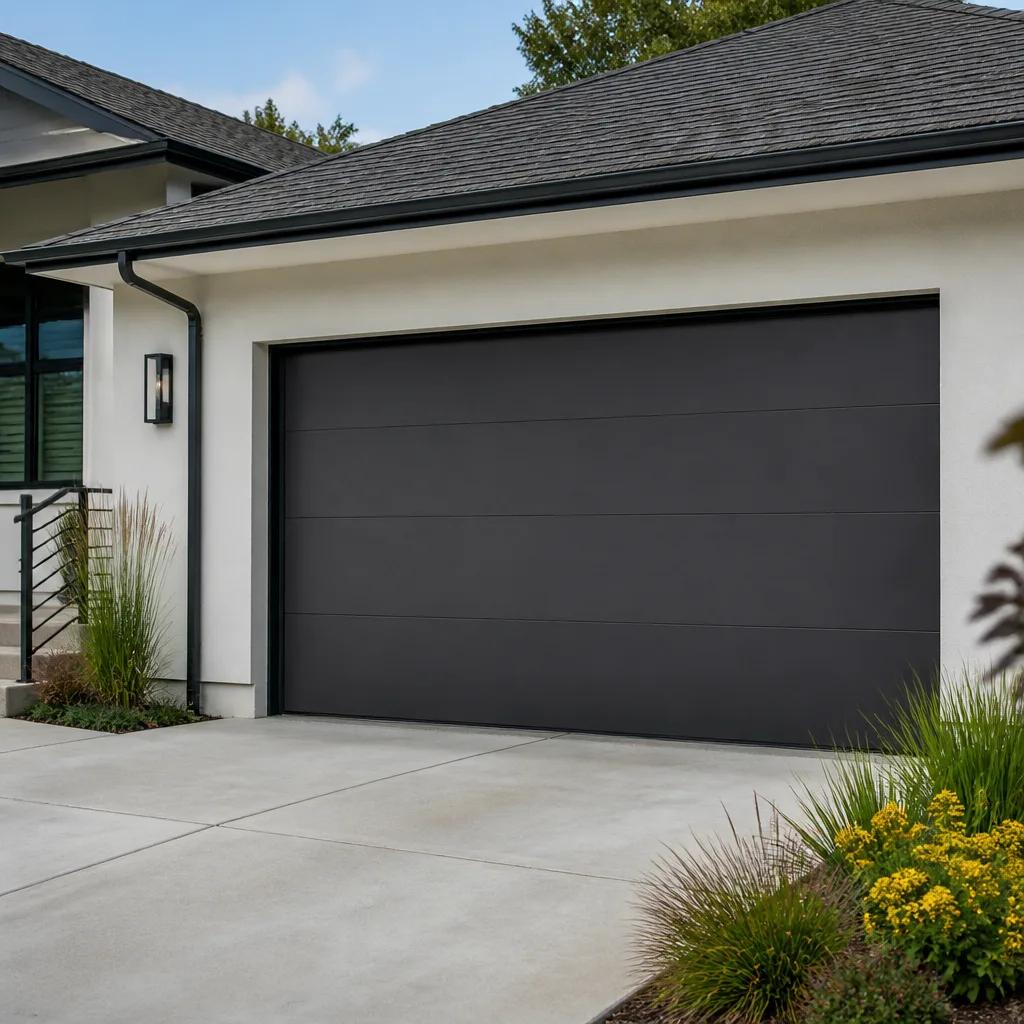 Modern flush
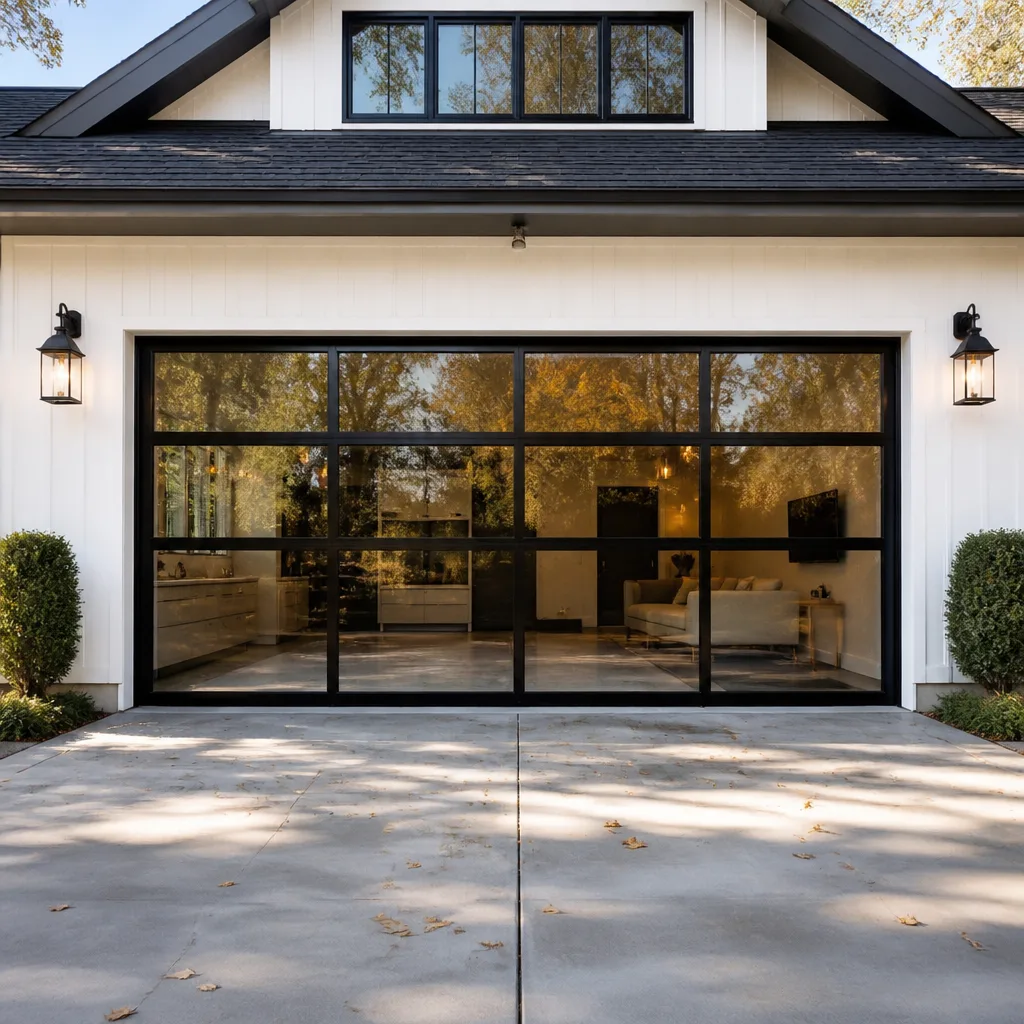 Full-view glass
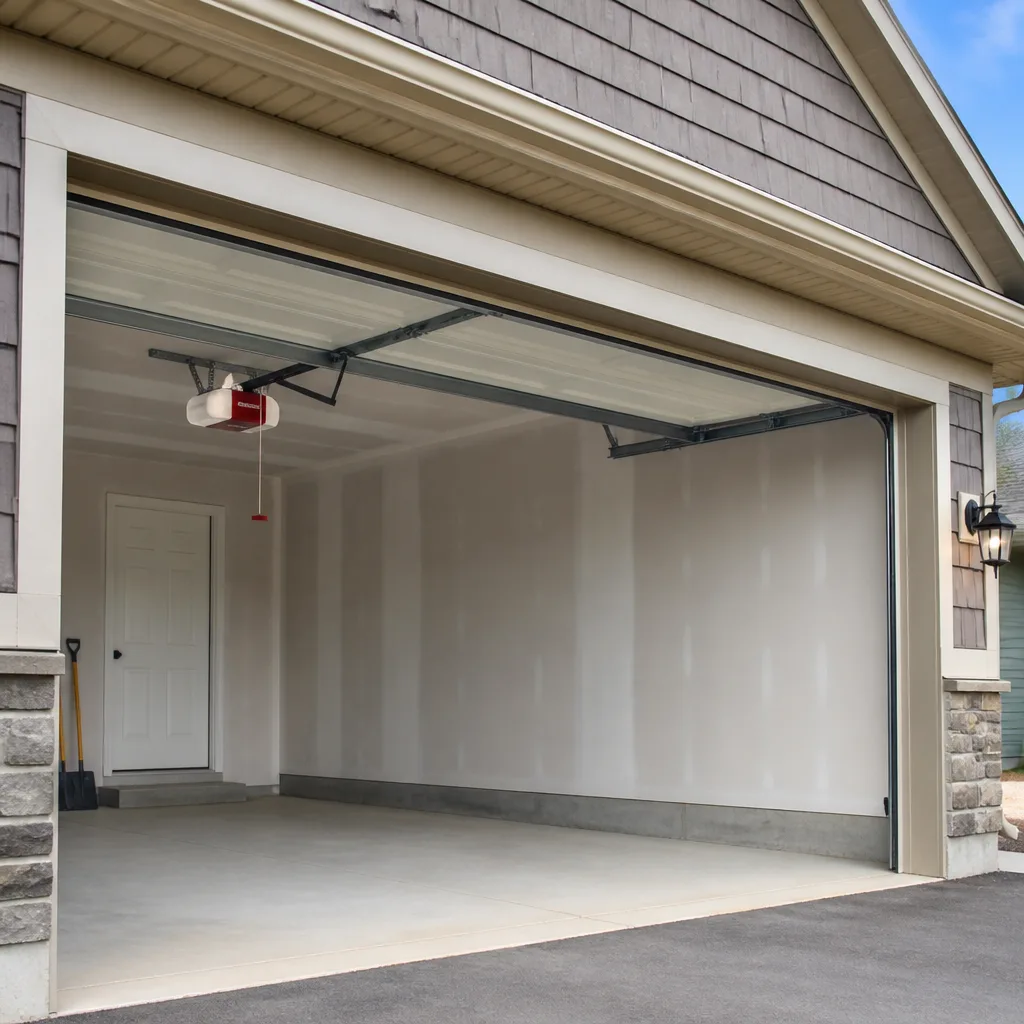 LiftMaster openers
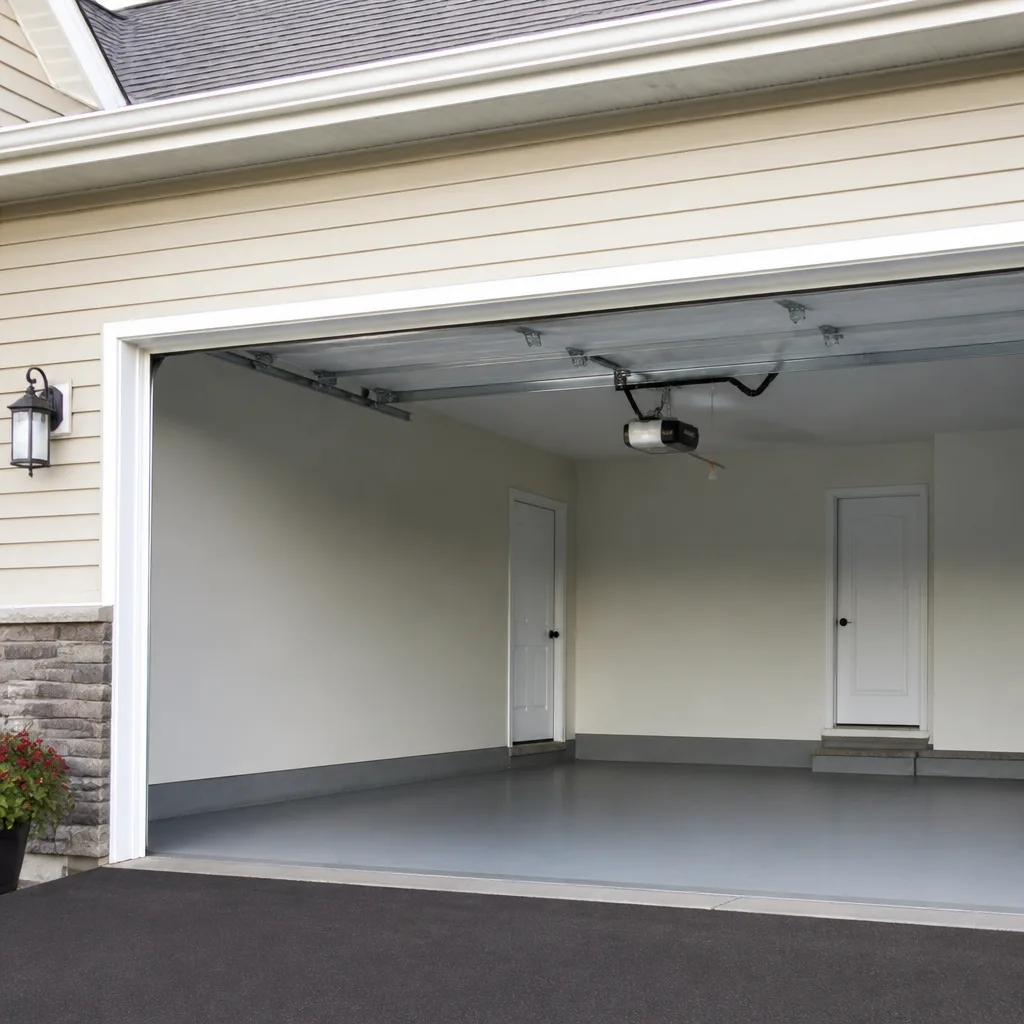 Chamberlain openers
Full 25-point door and opener safety check with every visit - springs, cables, rollers, tracks, and your LiftMaster or Chamberlain opener included
You get a price before we start. It does not change when the pro arrives.
Get your free estimateGarage Door Repair Troubleshooting: Common Problems and How to Fix Them
A door that reverses before it hits the floor and a door that stops halfway up look like different problems. Most of the time they aren’t. They’re the same misread sensor, and the homeowner who skips the diagnostic sequence ends up paying for the wrong fix twice. We’ve rolled up on plenty of Mesquite driveways where a brand-new opener got installed to solve what was actually a five-dollar bracket issue. This guide is the sequence we actually run, in the order that saves you time and money: motor, spring, track, sensor. You’ll learn what you can rule out yourself in under five minutes, what the error codes on your opener actually mean, and when to stop poking at a 200-pound door and call someone.
Quick Answer
Most garage door failures trace back to one of three things: a safety sensor that’s out of alignment, a torsion or extension spring that’s reached the end of its cycle life, or a track that’s been knocked out of plumb. You can rule out the sensor and confirm whether the problem is mechanical or electrical in about five minutes with the manual release test. Springs and cables are a different story, and that’s where you call a professional.
Styles & brands we work with
- Raised-panel steel
- Carriage house
- Modern flush
- Full-view glass
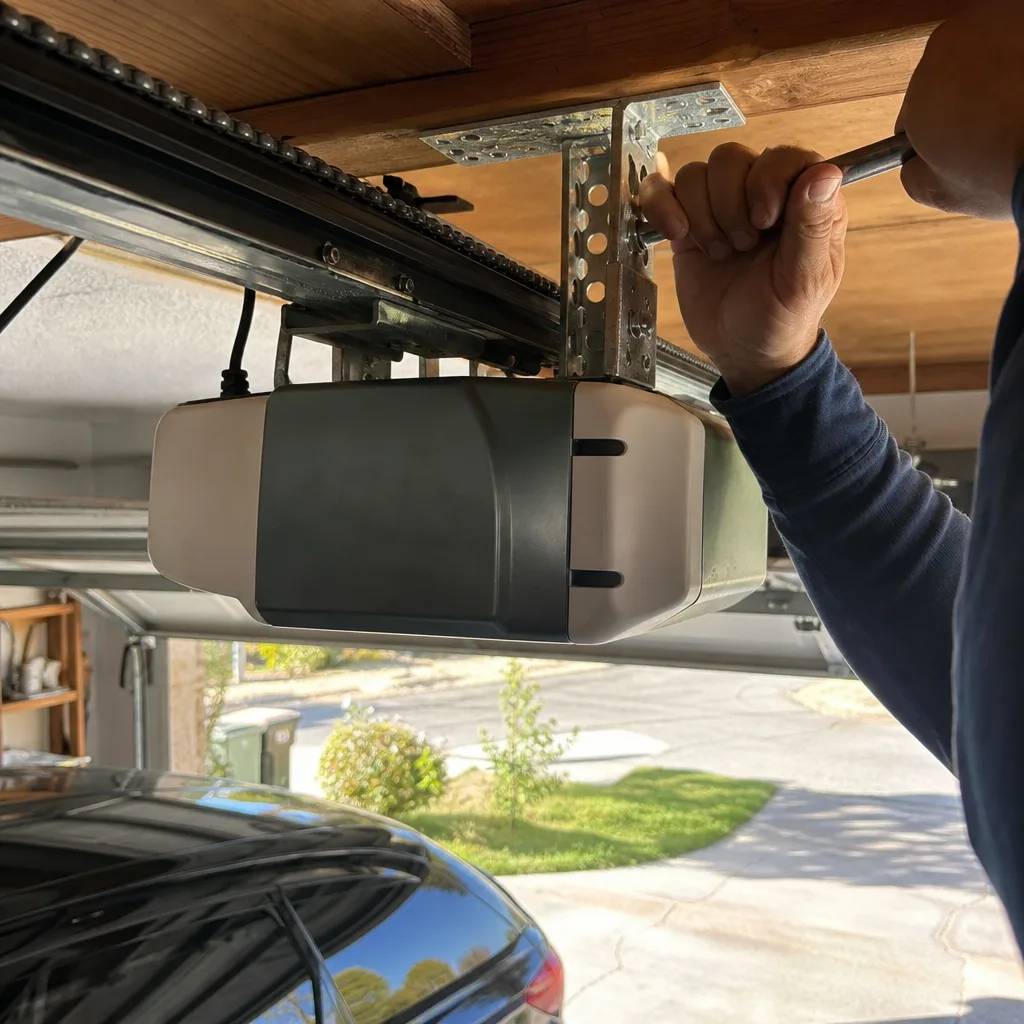
- LiftMaster openers
- Chamberlain openers
Table of Contents
- Start Here: The Diagnostic Sequence That Saves You Time
- The Manual Release Test: Mechanical or Electrical?
- Safety Sensor Problems: The Most Common False Alarm
- Spring Failures: What You’re Hearing and What It Means
- Bent Tracks: Cosmetic or Structural?
- The Misalignment Everyone Blames on the Opener
- What Your Opener’s Error Codes Actually Mean
- When to Call a Professional
Start Here: The Diagnostic Sequence That Saves You Time
Random poking at a garage door wastes an afternoon and can get you hurt. The order matters. Work through these four systems in sequence, and stop the moment you find the problem. Nine out of ten “my door won’t open” calls we get in Mesquite resolve to the first three steps.
- Motor first. Does the opener run at all? If you hear the motor humming but the door doesn’t move, the opener is fine and something mechanical has failed. If there’s silence, check the wall switch, the remote battery, and whether the door is locked out. This takes ninety seconds.
- Spring second. With the door closed, look straight up at the torsion spring (the horizontal coil above the door) or the extension springs (two springs running along the tracks). A broken spring shows an obvious gap in the coil. A stretched extension spring will look noticeably longer than its partner. This is visual only. Don’t touch.
- Track third. Stand inside the garage and sight down each vertical track from the floor to the curve. A bent track shows up as an obvious kink or as the door visibly leaning to one side as it travels. Cosmetic vs. structural is covered below.
- Sensor last. Look at the two small eyes mounted at floor level on either side of the door. Each one has a small LED. If either is dark, flickering, or showing a color other than solid, you’ve found your problem. Nine times out of ten, it’s a sensor.
The reason we run it in this order: motor and sensor are free to check, spring and track take physical inspection, and the diagnostic tells you within three minutes whether you’re dealing with an electrical problem or a mechanical one. That distinction is what changes the phone call.
The Manual Release Test: Mechanical or Electrical?
This is the single most useful thirty seconds you’ll spend on your garage door. It tells you in one move whether the problem is in the opener or in the door itself. Every opener has a manual release cord hanging from the trolley, usually red, usually with a handle.
Here’s the test: pull the release cord (with the door closed and no one under it), then try to lift the door by hand about a foot.
- If the door opens smoothly by hand and stays up when you let go, the springs and balance are fine. Your problem is electrical, meaning the opener, the sensor, or the wiring between them. That’s the cheaper diagnosis.
- If the door is heavy, stubborn, or won’t stay up when released, the springs are compromised. That’s a mechanical failure, and it’s not a DIY job. A standard single-car door weighs around 130 pounds and a double runs over 200. All of that weight rides on those springs. Respect it.
Two safety notes, both real. First, do this test with the door fully closed and nothing and no one in its path. Second, if the door feels heavy or drops, don’t force it. A door with a broken spring can come down fast and hard. In Mesquite, where summer heat means your garage regularly sits above 110°F, we see springs lose tension earlier than homeowners expect. The manual release test will tell you if that’s what happened. Re-engage the trolley by pulling the cord again while the door is in the down position before you try the opener.
Safety Sensor Problems: The Most Common False Alarm
The two little eyes at the bottom of your tracks are photoelectric sensors, and they’re responsible for the majority of “my door opens but then reverses” calls we handle in Mesquite. Here’s what’s happening: the sending eye shoots an invisible beam across the opening to the receiving eye. If anything interrupts that beam, the opener assumes something (or someone) is in the way and reverses the door as a safety feature.
The most common culprits:
- Misalignment. The two eyes must point directly at each other. A bumped garbage can, a garden hose reel, or a kid on a bike knocks them off-kilter. Sight along each one and adjust until the LED on the receiving unit goes solid.
- Dirt or a spider web. One wipe with a soft cloth fixes it. This is more common in dusty desert air than homeowners realize.
- Sun glare. Direct afternoon sun onto the receiving eye can overwhelm the sensor. Shading the eye with a short section of PVC pipe solves it and costs a dollar.
- Loose wiring. The low-voltage wire runs along the track and up to the opener head. If the staples pulled loose or the wire got chewed by a mouse, the sensor won’t hold a signal.
If both LEDs are solid but the door still reverses, the problem is almost always higher up: the opener’s logic board, or the force setting has drifted. That’s the point at which professional diagnostics pay for themselves. Our team sees sensor issues on nearly every trip we make to garage door repair in Mesquite, and roughly a third of them are self-fixable if the homeowner knows what to look for.
Spring Failures: What You’re Hearing and What It Means
Springs are rated in cycles, and one cycle is one full open-and-close. A standard 10,000-cycle spring is designed for roughly ten years of typical use, but heat and cycles vary. If you want to know how close yours are to the end, count your openings: two cycles a day, 365 days a year, and you’re at 730 cycles annually. Ten thousand divided by that is your ceiling. We count spring cycles the way you count tire miles.
What different failures sound and look like:
- Torsion spring (horizontal coil above the door). A loud bang that sounds like a firecracker or a gunshot, followed by a door that won’t open more than a few inches. Look for a visible gap in the coil. The door is now dead weight on the opener, and forcing it will burn out the motor.
- Extension spring (two springs running along the tracks). Door opens but feels heavy and sluggish. The springs look stretched out, sometimes noticeably longer than the other side, sometimes with the safety cable loose. Older setups without safety cables are a genuine hazard and worth upgrading on the next repair.
- Springs that are intact but the door drops. Worn tension, not a break. Rebalancing is the fix, and it’s not a homeowner job.
Here’s the caveat we always give: torsion springs must be tensioned with specific winding bars, and the energy stored in one is enough to break bones or kill. We do not recommend homeowners touch them. If you’ve confirmed a broken spring, call someone who has the bars, the gauges, and the insurance. That’s what the 90-Day Done Right Promise covers you for: if the spring we set doesn’t hold, one call brings us back and we make it right.
Bent Tracks: Cosmetic or Structural?
Tracks get bent from three things: a car backing in too far, a ladder leaned against the door, and impact while the door is moving. The good news is that not every bent track needs replacing. Here’s how to tell which kind you have.
Cosmetic bend: a shallow dent in the horizontal track, the door still travels smoothly through it, and there’s no visible wobble. A dead blow hammer and a block of wood can reshape it enough to clear the rollers, or you can leave it. It won’t shorten door life.
Structural bend: a kink in the track that the rollers cannot pass through without resistance, a vertical track that’s out of plumb (door visibly leans to one side), or a curve where the horizontal and vertical sections meet that’s been flattened. When the door rolls through a bad curve, the rollers take the load instead of the track, and that’s the beginning of a cascade: rollers wear, cables wear, and eventually the door hangs.
To check plumb, use a level against the vertical track. It should be dead vertical. If it’s off by more than a quarter inch over the length of the track, the door is fighting its own path every cycle. Repairs run $150 to $350 depending on which sections need replacing. Our team can check it on a walk-through; you can also look at new garage door installation in Mesquite if the door itself is nearing end of life and rebuilding makes less sense than replacing.
The Misalignment Everyone Blames on the Opener
Here’s the one we wish more homeowners knew about. The door opens crooked, the bottom corner drags or the door slides sideways by half an inch, and the assumption is that the opener has lost its mind. Nine times out of ten, it hasn’t. Look at the bottom bracket: the metal fitting at the corner where the bottom panel meets the cable.
That bracket is where the lift cable attaches, and it takes the full pulling force every time the door goes up. Over years of use, bolts work loose and the cable walks out of the bracket slot. A little drift shows up as the door running slightly out of square, and a bigger drift means the door is being pulled unevenly by two cables of slightly different effective length. Your opener is doing exactly what it was told; it’s the bracket that’s throwing the door off.
What to check: with the door closed, look at both bottom brackets. You’re looking for:
- Bolts that have backed out of the bracket (visible threads showing or a wobble when you wiggle the bracket by hand)
- The cable sitting proud of its slot, or frayed strands
- One corner visibly higher or lower than the other
Adjustments here are one of the easiest things to make worse: the cable is under tension, and a slip releases stored energy. Loose bolts you can snug up by hand. Any cable or bracket drift beyond a snug, and it’s time to call. We see this exact failure point constantly in Mesquite, and the fix is usually a bracket re-torque and cable reseat rather than a new opener, which is the repair most homeowners get quoted for by mistake.
What Your Opener’s Error Codes Actually Mean
Most modern openers blink an LED on the back to tell you what’s wrong. Different brands code differently, and LiftMaster, Chamberlain, and Genie all use their own schemes. Here’s the plain-language translation for the most common ones:
- Ten blinks on a LiftMaster or Chamberlain: the safety sensors are in trouble. Could be wiring, alignment, or a dead sensor. Chamberlain and LiftMaster share the same platform, so the codes line up.
- Five blinks on a LiftMaster or Chamberlain: the opener’s RPM sensor or motor is the issue. That’s inside the unit and not a homeowner fix.
- One blink, repeated: the motor control board is faulting. This one usually means a board replacement, but a loose wire at the head can cause the same signal.
- Genie three-blink pattern: the safety beam has been interrupted or the lens on the sensor is dirty. Clean the sensor eyes first, then check alignment.
- Genie five-blink pattern: the limit switch isn’t registering the up or down limit. That’s a re-limit calibration, and it’s inside the head where the settings live.
If your opener is a Craftsman or a Wayne Dalton unit and the manual’s gone missing, the code is still readable; it’s just coming off a different chart. Point your phone’s camera at the LED and count the blinks over a full cycle: blink-pause-blink is a two-code. With the code in hand, the fix is usually next on the list. When it isn’t, that’s what our garage door opener repair and installation in Mesquite service exists for.
Common Mistakes to Avoid
- Replacing the opener for a bracket problem. We’ve seen homeowners in Mesquite replace a perfectly good LiftMaster to fix a bottom-bracket drift that a ninety-dollar repair would have solved. Rule out the mechanical failures before buying an opener.
- Forcing a door with a broken spring. The opener motor will run itself to death trying to lift a 200-pound door with no spring assist. Stop pulling the trigger the moment you suspect a spring failure.
- Adjusting the force setting instead of fixing the door. Turning the force up increases the strain on every other component and lets the door operate with less resistance than it was designed to overcome. That setting protects the door; it doesn’t fix the problem.
- Assuming the sensor is fine because the LED is on. A solid LED confirms power, not alignment. Flicker or a door that reverses intermittently is almost always a slight misalignment that a straight-edge check will reveal.
- Ignoring springs because the door still opens. A broken spring is one failure; a worn spring that’s about to break is another. In Mesquite’s heat, we see springs that still lift the door but only have a few hundred cycles left. If you’re hearing groaning or the door feels heavy, it’s already telling you something.
- Leaving your door in the released position. If you pulled the manual release and didn’t re-engage it, the opener will run but the door won’t move. This is one of the most common “broken” doors we walk up on. Take thirty seconds to check before you call.
- Taking the cheapest bid on a spring replacement. Springs are not interchangeable. They’re rated for your door’s weight and height. A mismatched spring is a future failure, and it’s a safety issue. Ask for the part number and the cycle rating on the ticket.
See the difference
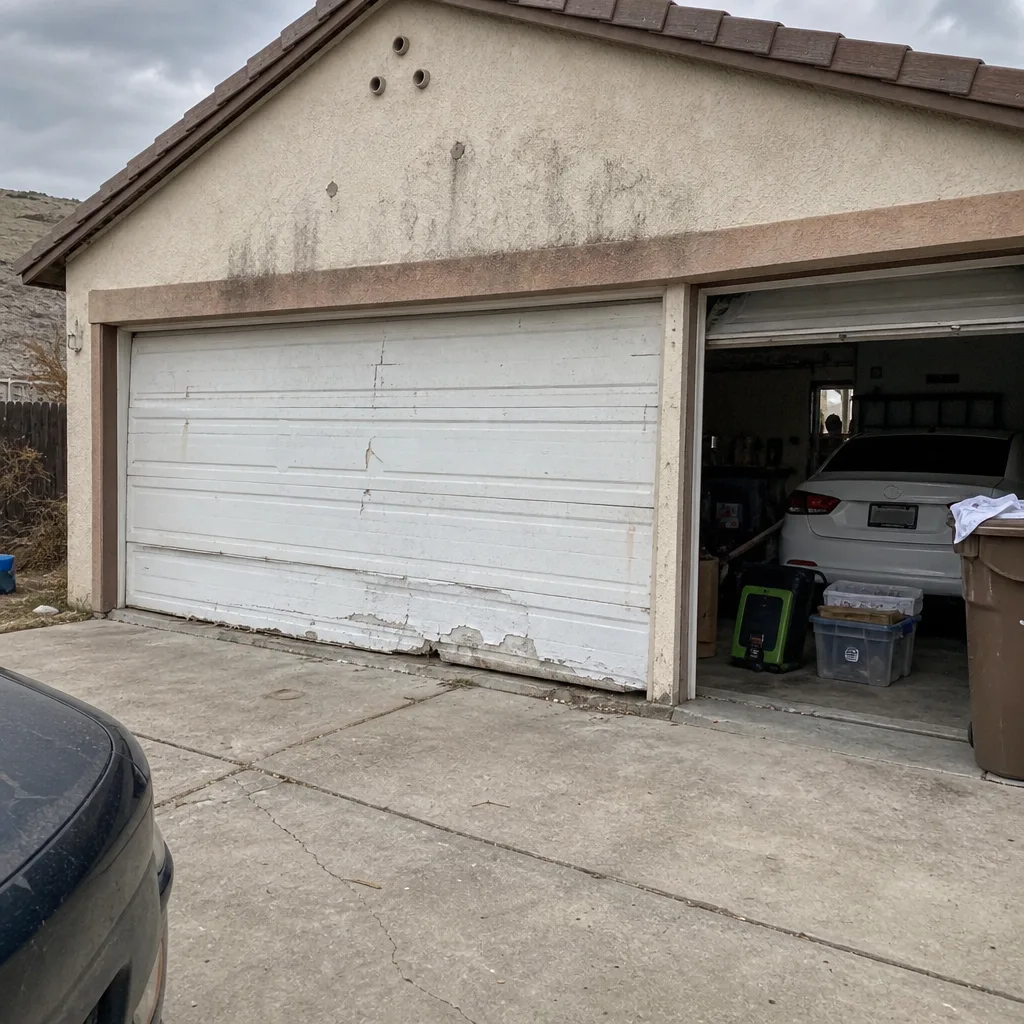 Before
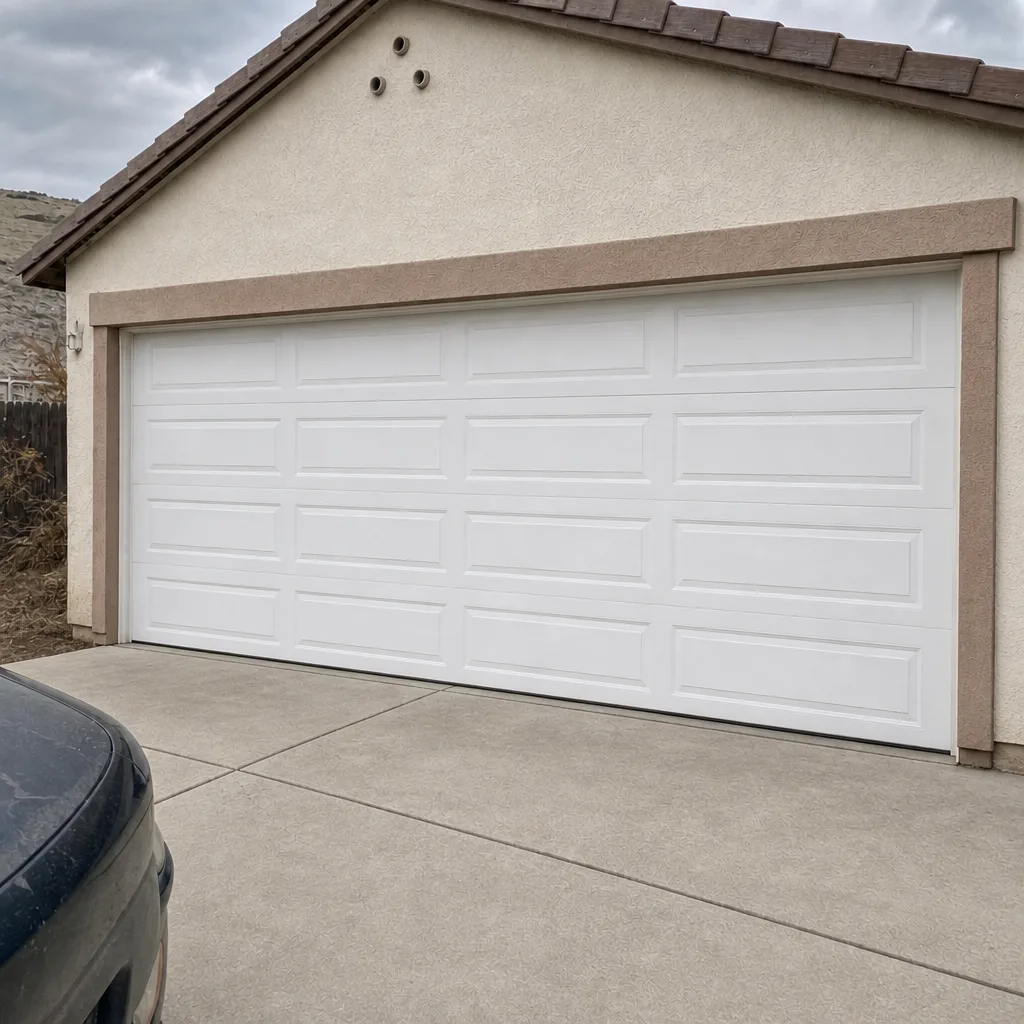 After
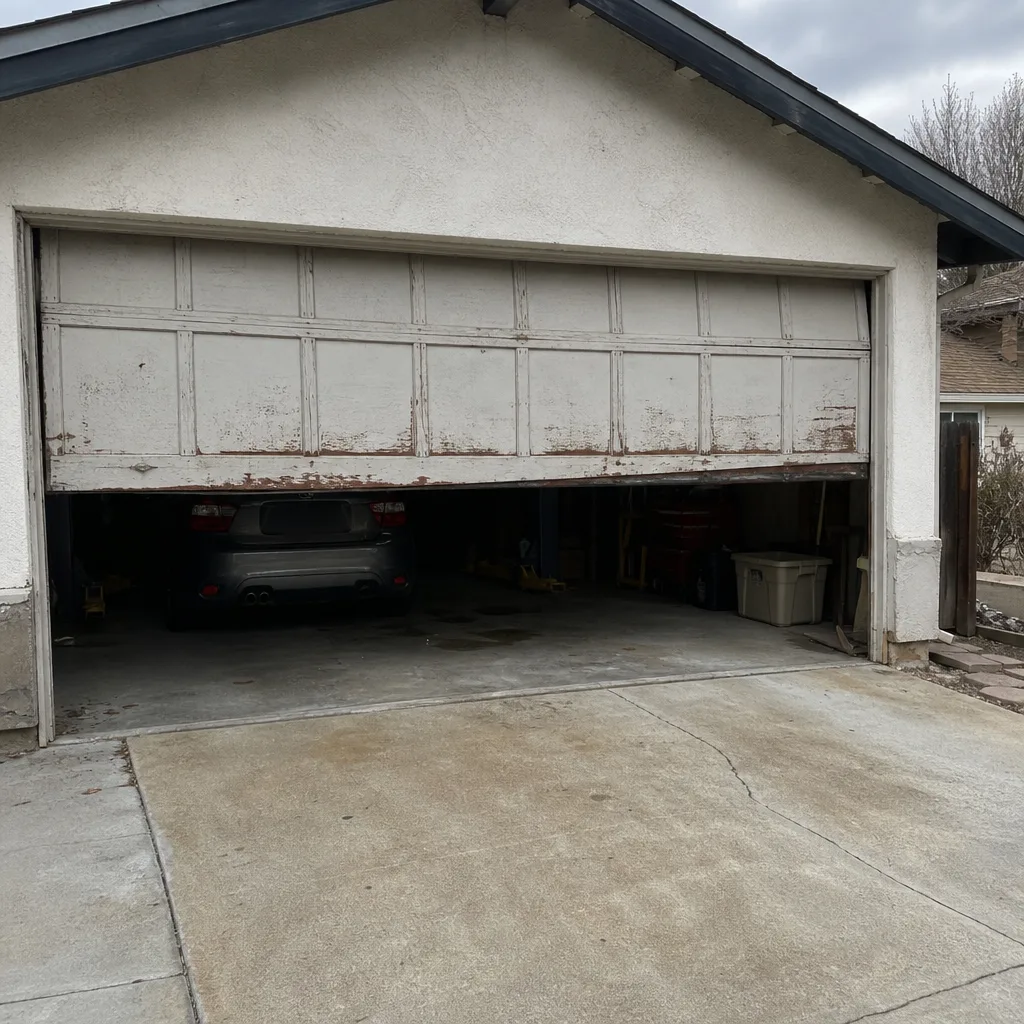 Before
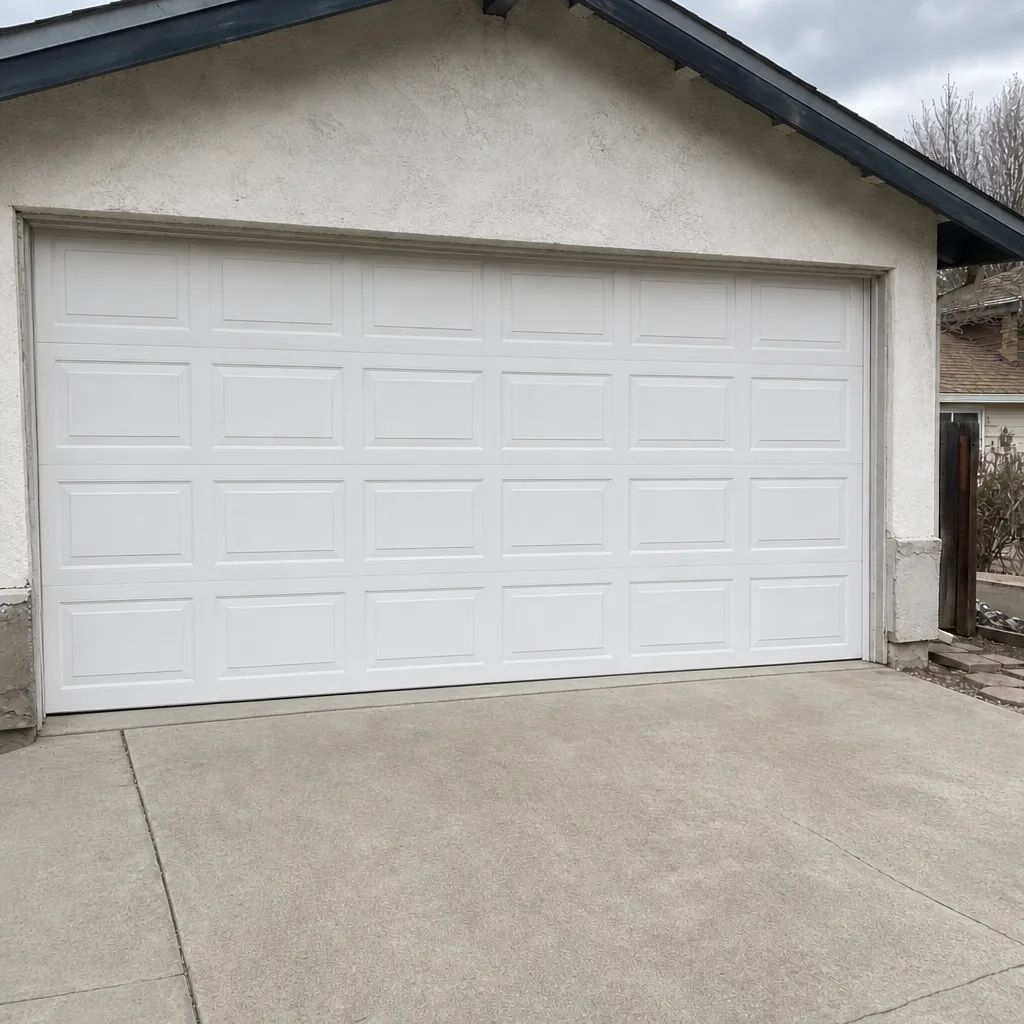 After
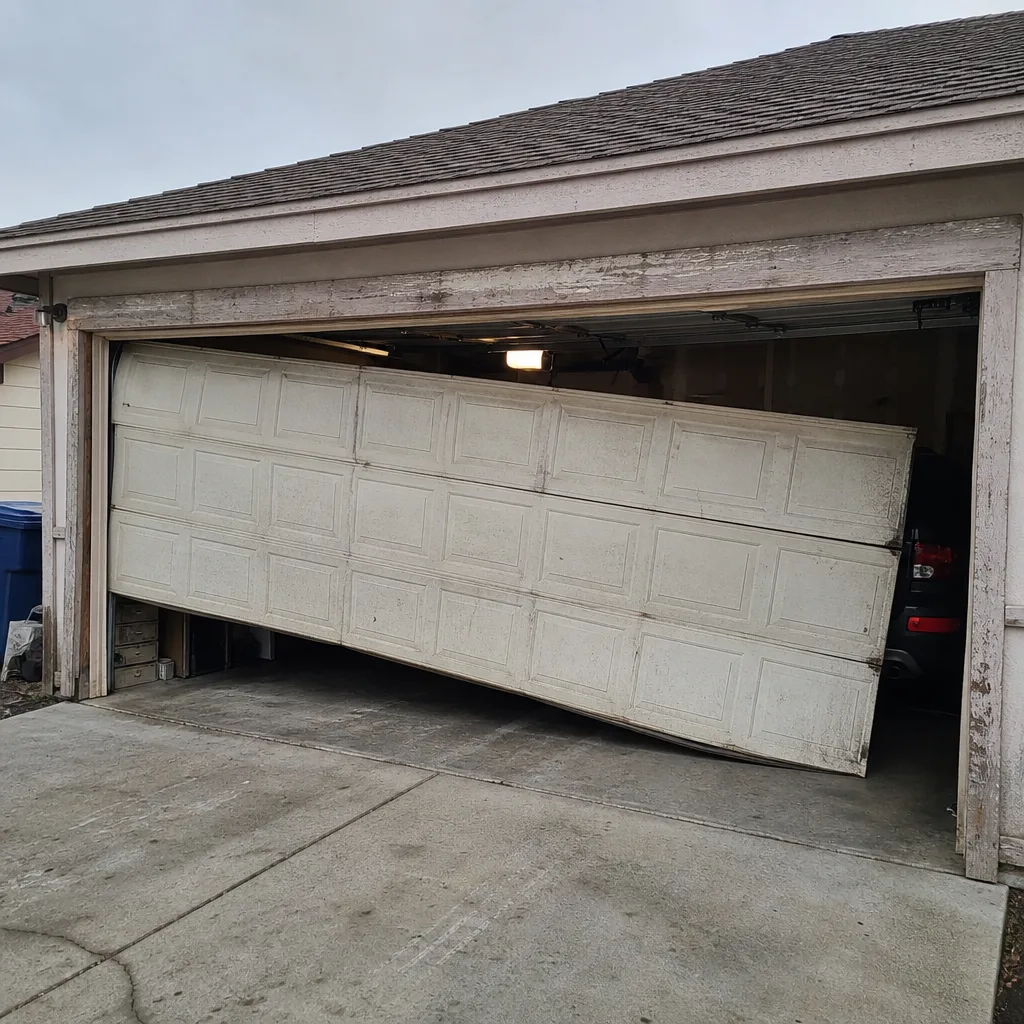 Before
 After
When to Call a Professional
Some of the diagnostic work is safe and worth doing on your own: sensors, track sighting, bottom bracket visual check, error-code reading. The moment the diagnosis points to a spring, cable, bottom bracket adjustment, or the inside of the opener motor, that’s the line. Those components store real energy, and the wrong move can cause serious injury. The same goes for anything that involves unwinding a torsion spring or cutting a cable under tension.
Otto’s Garage Door Mesquite offers free estimates on any repair in Mesquite. Call (844) 320-6569 and you’ll reach a live person, and often the owner himself, who will quote the job on that call and hold the number when he gets there. No-hassle upfront pricing, and it doesn’t change between the phone and the driveway.
Frequently Asked Questions
Run the manual release test: pull the red trolley cord with the door closed and try to lift the door by hand. If it’s heavy and won’t stay up, the springs are the problem. If it lifts easily, the opener, sensor, or wiring is the culprit. Either way, call (844) 320-6569 for an exact quote on the fix; estimates are free.
Almost always a misaligned safety sensor or an obstruction in its beam, which is why a door that reverses on the way down usually turns out to be the same misread sensor as a door that stops on the way up. Check the LED on each sensor eye and align the two to face each other. If both are solid and the door still reverses, the opener’s travel limits or force settings have drifted and need adjustment by a technician.
No. With the spring broken, the full weight of the door is on the opener and the cables, and a sudden drop is possible. Park outside and don’t run the opener. A door with a broken spring should be treated as out of service until it’s repaired.
Most commonly the remote’s battery or its rolling-code registration, not the opener. Replace the battery, then re-pair the remote to the opener (hold the button on the opener head for a few seconds, then press the remote). If neither works, the opener’s receiver board is the likely culprit. Give us a call and we’ll fit a replacement or round out your opener setup with a fresh remote.
It depends on cycle count, not age exactly, but Mesquite’s heat accelerates spring wear. Springs sit in a garage that regularly sees 110°F+ in summer, and heat is a spring’s enemy over time. A door that cycles twice a day should get 8 to 12 years out of a standard spring; light use pushes it further, hard use or a door that gets left open in the sun shortens it. If you’re at year eight or later with no history of a spring change, it’s worth a look.
A binding point at the same location every cycle is mechanical, not electrical. Most often it’s a bent track at that spot, a worn or seized roller, or the bottom bracket we covered earlier. Sight down the track at the height where it sticks and check the rollers for flat spots. If the fix isn’t obvious in five minutes, that’s the point to bring in a technician.
The Bottom Line
The best diagnostic sequence is the cheapest one. Motor, spring, track, sensor, in that order. Nine out of ten “garage door not working” problems come down to one of those four systems, and most of them can be ruled out with a flashlight and thirty seconds with the manual release cord. A sensor re-alignment is a free fix. A bent track repair runs $150 to $350. A spring replacement is a job for a trained technician every time, and the 90-Day Done Right Promise means if it isn’t done right, we make it right.
The name on the van is the name on the invoice and the name on the license, and we’ve been answering our own phone in this county since 2004. If you’re at the end of the diagnostic and need a second look, that’s what we’re here for. Call (844) 320-6569 for a free estimate. Ask anyone on your street.
Written by the team at Otto’s Garage Door Mesquite.