
Last updated November 17, 2026
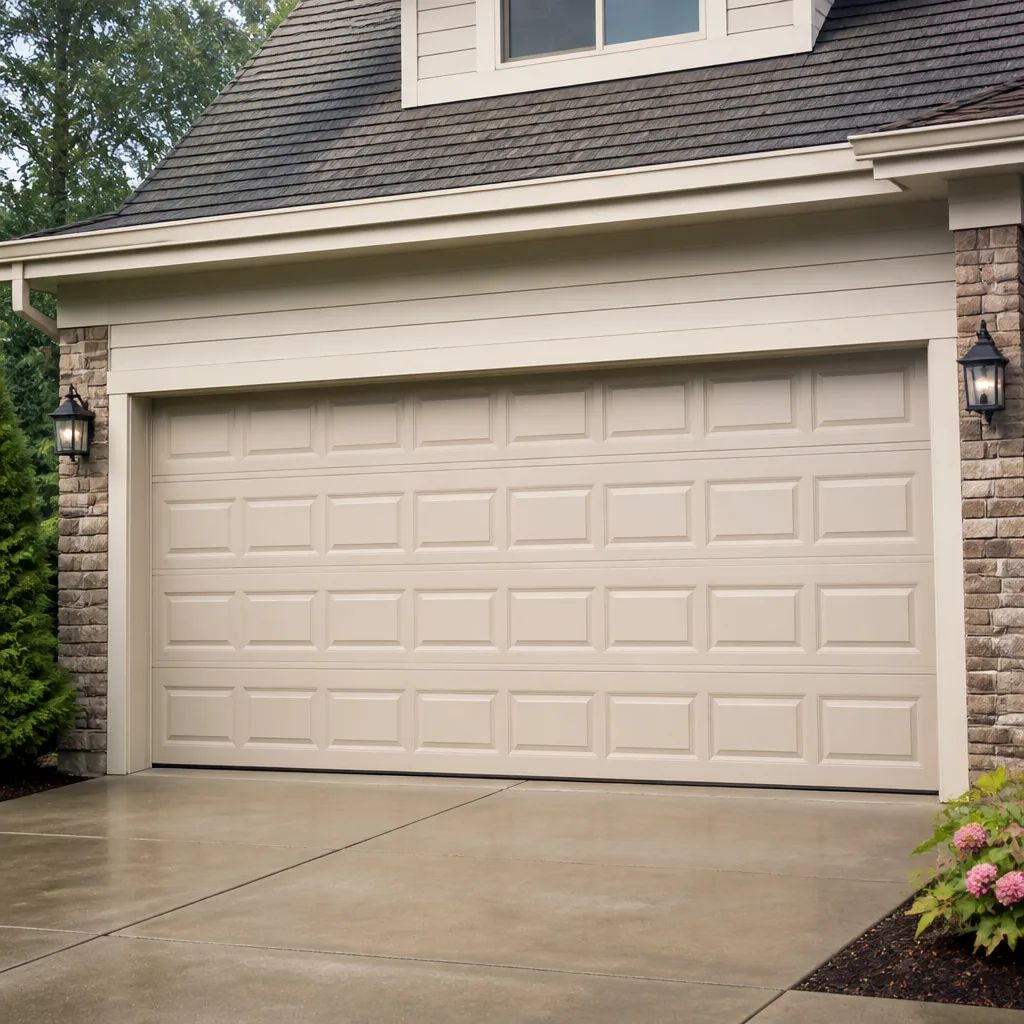 Raised-panel steel
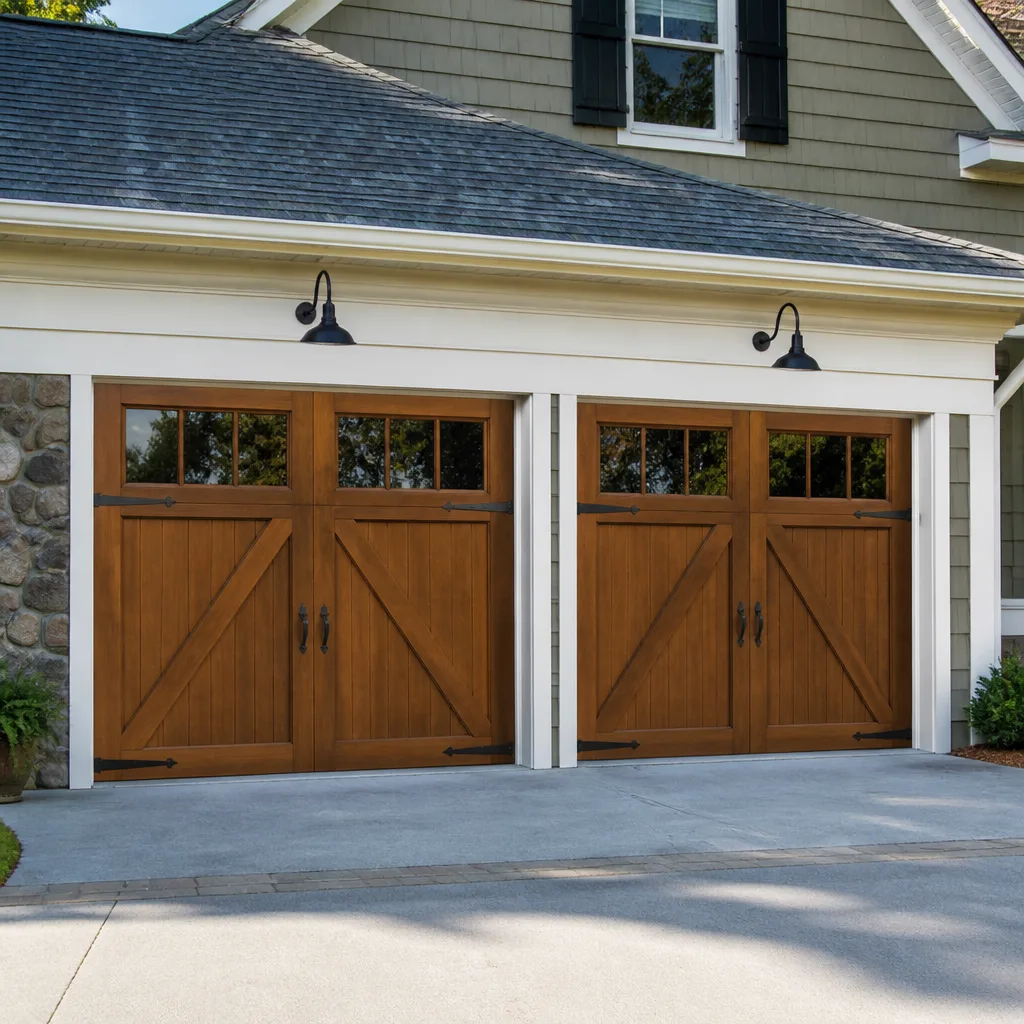 Carriage house
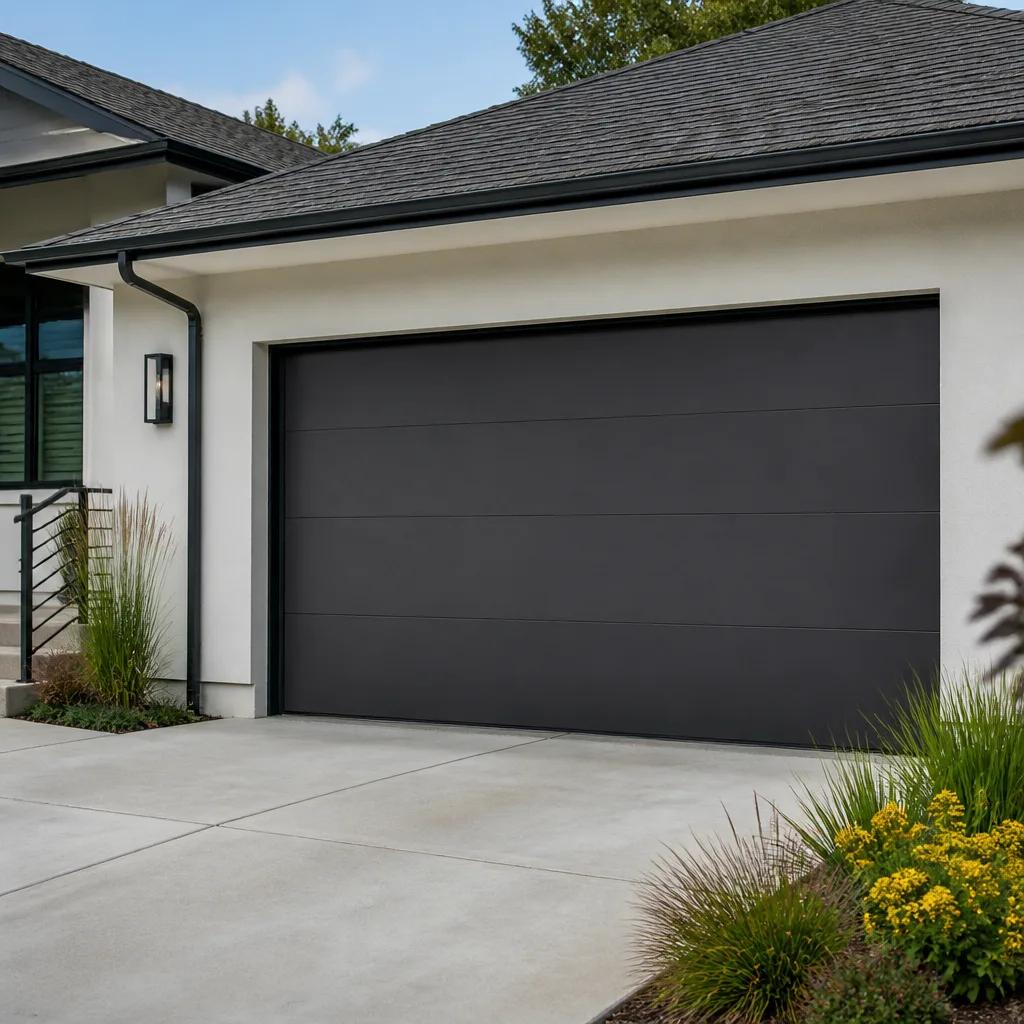 Modern flush
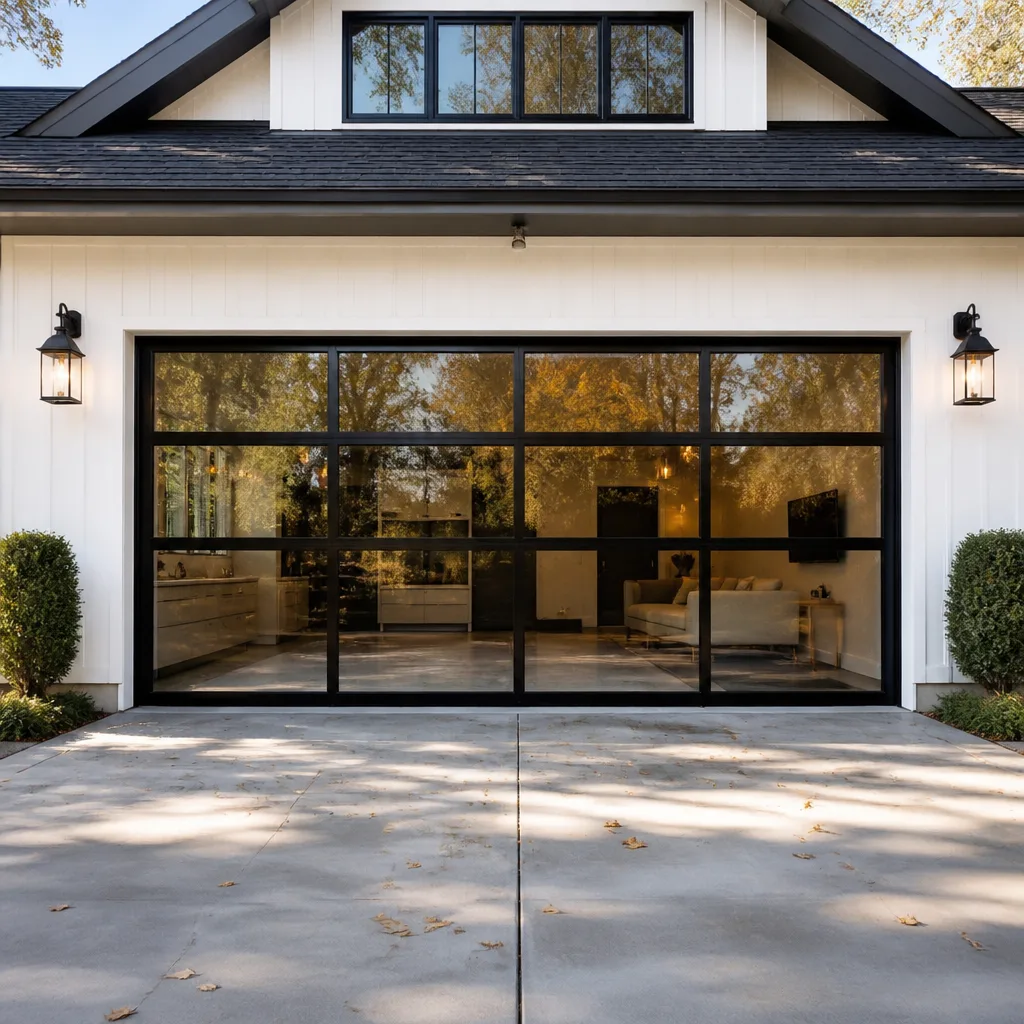 Full-view glass
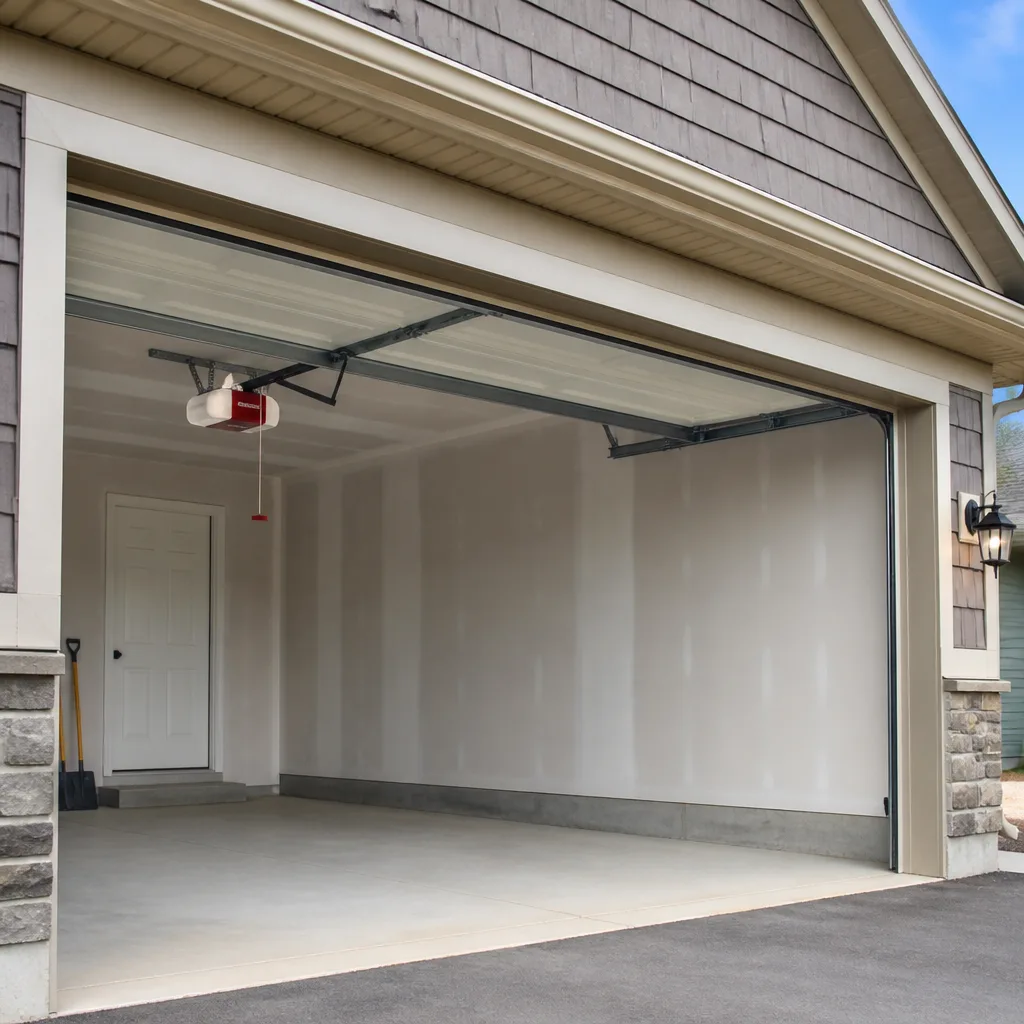 LiftMaster openers
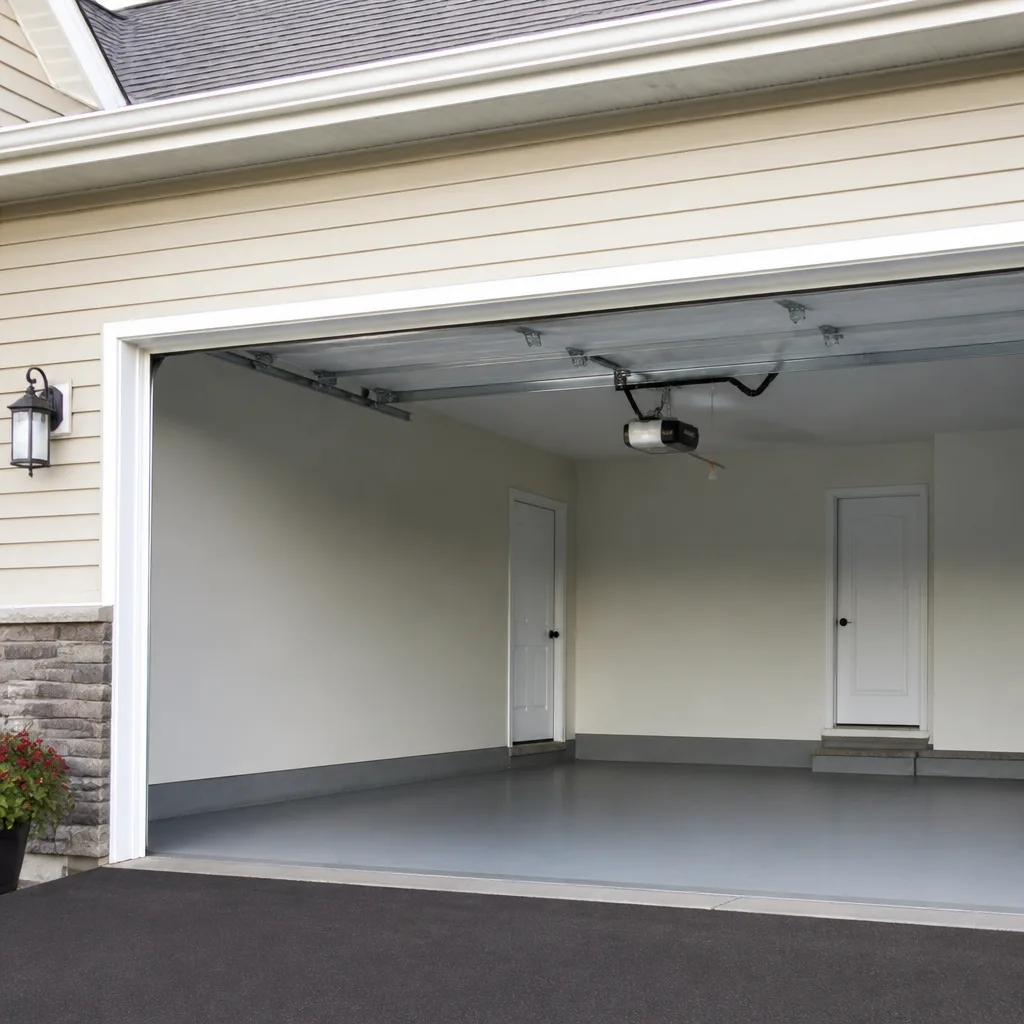 Chamberlain openers
Full 25-point door and opener safety check with every visit - springs, cables, rollers, tracks, and your LiftMaster or Chamberlain opener included
You get a price before we start. It does not change when the pro arrives.
Get your free estimateDIY vs Professional Garage Door Installation: What’s Safe to Do Yourself
We’ve restrung cables on three doors this year that homeowners installed themselves. Every one of them worked fine for about a week. Then a cable jumped the drum, the door dropped, and what looked like a finished job turned into a repair bill. The install looked square. The spring tension was off by enough to matter, and you can’t see that by squinting at it. A garage door is a 200-pound panel riding on two springs, and the margin between “works great” and “dropped on somebody” is measured in turns of a winding bar. Over the next few thousand words we’ll tell you exactly where the DIY line sits, which doors you can safely do yourself, which ones you can’t, and what the real cost comparison looks like. We’re writing this from Mesquite, where the heat gives springs a shorter life than most install videos assume.
Quick Answer
A DIY garage door installation is only realistic on a single-car door using an extension spring system, with two capable adults, the right tools, and prior experience reading spring tension. If your door is over 10 feet wide, uses a torsion spring system, or replaces a door on a home older than about 20 years, professional installation is the safer and usually cheaper choice once you count the tool costs and the callback repair. In Mesquite, the summer heat pushes springs harder, so a miscalibrated install tends to fail faster here than in cooler climates.
Styles & brands we work with
- Raised-panel steel
- Carriage house
- Modern flush
- Full-view glass
- LiftMaster openers
- Chamberlain openers
Table of Contents
- What a DIY install actually requires
- Why spring tension is the step that decides everything
- What a professional install includes that tutorials skip
- The real cost of DIY vs professional installation
- The safety math: when to stop and call
- What our written guarantee covers, plainly
- Common mistakes to avoid
- When to call a professional
What a DIY Install Actually Requires
Before you order a door, sit down and count. Not just the money – the tools, the help, and the honest answer to whether you’ve ever worked around a wound spring before. Most YouTube tutorials start with the door already leaning against the wall and skip the part where you removed a 200-pound panel from a track system without cracking the bottom section.
Here’s the gear a real install requires, beyond what’s in most garages:
- Two winding bars sized to your spring system – cheap bars from a big box store are the wrong steel and can slip
- A proper tension gauge – the kind you can read a spring’s remaining cycle life with, not a bathroom scale
- Two ladders rated to hold the door’s weight while you lift a panel into a track
- A drill with a nut driver, a full socket set, and a torque wrench you trust
- A level long enough to check the header across its full width – a 2-foot torpedo level won’t do
- A second adult who can lift one end of a 100-pound panel without dropping it on you
That’s the physical bar. The experience bar is higher. If you’ve never installed a door before, the first one is a learning job, not a finishing job, and the mistakes show up in month three. We’ve seen it in Mesquite more than once – a homeowner installs a door in spring, it works fine, then August lands and the tension that felt right in 85-degree weather starts to sag when the garage hits 115. The heat is unforgiving of a 5-degree error.
If you’ve gone through this list and you’re still in, good. Read on. If you’re already feeling the brake pedal, that instinct is worth trusting. Garage Door Installation in Mesquite walks through what a professional install looks like from the first measurement to the last reverse test.
Why Spring Tension Is the Step That Decides Everything
The spring is the whole game. A garage door on its track, unattached to any spring, weighs what it weighs and stays where gravity puts it. The spring is a counterweight that has to be tuned to within a few pounds of the door’s weight, or the door fights you every inch of travel and the opener, the cables, and the rollers all take the wear.
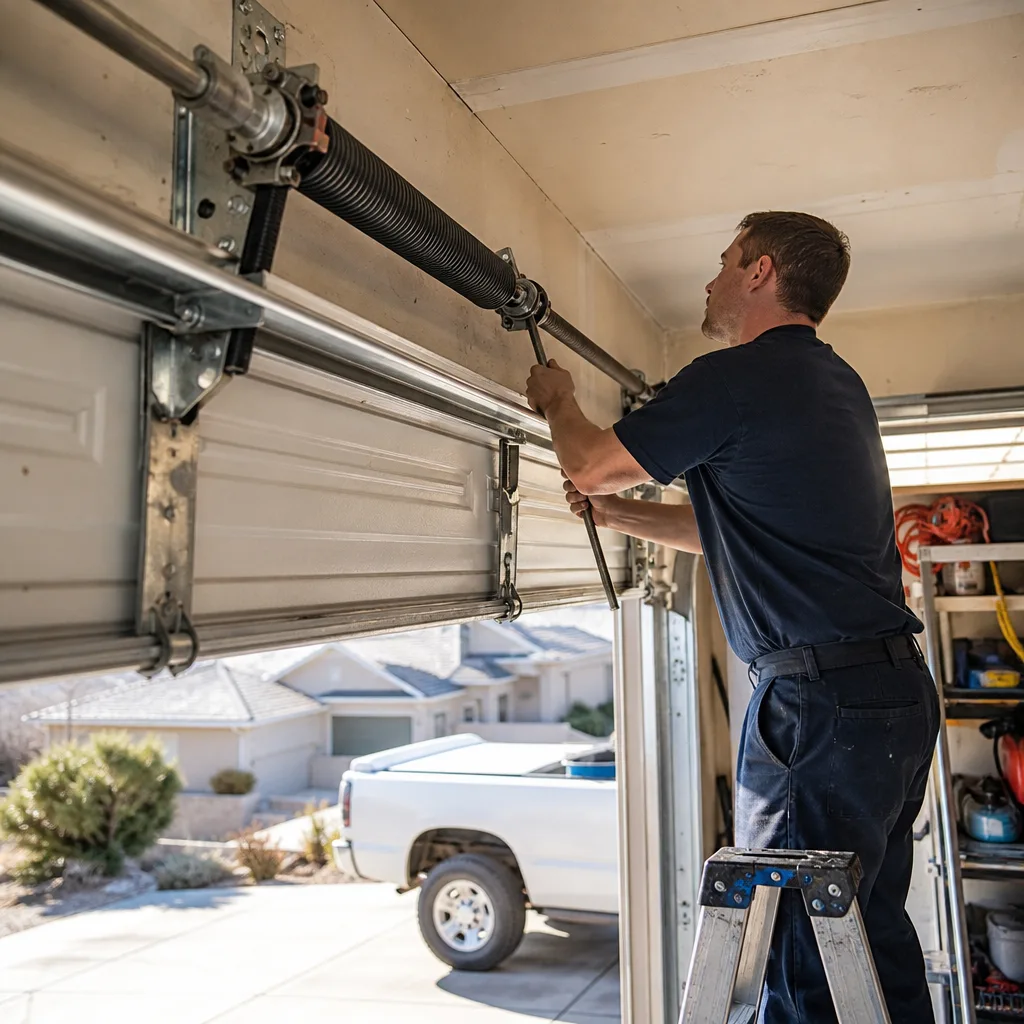
To hit that target, a professional measures the door’s weight on a scale, matches it against the spring’s rated pull (measured on a tension gauge), and does the calibration math before the first winding bar goes anywhere near the system. The YouTube version is “wind it until the door holds halfway open.” That’s not calibration. That’s a guess.
Why does it matter that much? Because a spring that’s 5 percent light doesn’t fail the day you install it. It fails in six to twelve weeks, and when it does:
- The cable jumps the drum, usually on the side with the lighter spring
- The door drops along one track, which twists the panels and breaks at least one hinge
- The opener, which has been quietly working twice as hard, either strips its gear or burns out the motor
- The repair runs $300 to $600 on a job you already paid for once
Mesquite’s heat accelerates the cycle. Springs handle a finite number of cycles – a typical residential spring is rated around 10,000 – and heat, dust, and dry air shorten that life. We’ve seen springs in Mesquite that should have gone eight years go five. A slightly off install doesn’t last eight. It lasts one hot summer. If you want to know what’s left on your own springs, we’ll read the cycles for you when we’re out – it’s one of the things we always check.
The winding step itself is dangerous enough that most installers won’t let a helper stand near the spring while the bars are on. That’s not drama. That’s the reality of a wound steel spring under load. You can probably guess where we’re headed: this is the point where we recommend stopping.
What a Professional Install Includes That Tutorials Skip
A professional install isn’t just faster hands. It’s a specific sequence of checks that most tutorials don’t mention because they’re not trying to keep you out of a callback. In our own work in Mesquite, we run this list on every install:
- Measure the opening in three places: top, middle, bottom. Older homes settle, and a Mesquite house from the 1980s is rarely square to the inch. The door has to be ordered to the actual measurement, not the nominal one.
- Verify level at three points: header, floor, and track parallel. A door that looks right but is 1/4 inch off-level will bind on one side within a few hundred cycles.
- Weight the door on a scale and match the spring: done before installation, so the springs are wound to spec.
- Mount the tracks with the correct gap to the door edge: too tight and the rollers drag, too loose and the door rattles. The right setting is brand-specific. Clopay doors, for example, want different roller clearance than a Wayne Dalton.
- Calibrate the opener’s force limits: the opener is set to a specific push and pull load. A garage door opener that’s set too sensitive will trip on a cold morning; set too loose, it won’t reverse on an obstruction.
- Test the safety reverse: with a 2×4 laid flat on the floor, the door should hit it, reverse, and go back up. Every time, not most times.
- Test the photo-eye: break the beam with a hand and the door should reverse. If it doesn’t, the safety feature is decorative.
Steps five through seven are the ones that keep a child or a pet safe. If you install a LiftMaster or Chamberlain opener yourself, you’ll be responsible for getting those force settings right, and you can’t calibrate them without a manual and a little patience. We’re not saying it’s rocket science. We’re saying it’s the step most people skip.
The Garage Door Opener Repair & Installation in Mesquite page goes deeper on opener calibration if you want to see what we’re talking about.
The Real Cost of DIY vs Professional Installation
Here’s where the DIY math starts to wobble. The door itself is the biggest line item either way – a standard single-car door runs $600 to $1,400 depending on material, and a double-car runs $1,100 to $2,500. That cost doesn’t move whether you install it or we do. What moves is everything else.
A realistic cost comparison for a single-car door replacement in Mesquite:
- Door: $600 to $1,400 (same either way)
- Springs and hardware (if not included): $60 to $180 (same either way)
- Two winding bars (correct size): $40 to $90 (only if DIY)
- Tension gauge: $50 to $130 (only if DIY)
- Second ladder, if you don’t own one: $80 to $200 (only if DIY)
- One callback repair (statistically likely): $250 to $550 (only if DIY)
- Professional installation labor: $400 to $900 (only if pro)
Add the DIY column and you’re at $1,030 to $2,550 plus the door, with a 30-something percent chance of needing a repair in the first year based on what we see on the roadside. Add the professional column and you’re at $1,000 to $2,300 plus the door, with zero callback risk and a written warranty. The gap closes to almost nothing for a single-car install.
Where professional install wins on cost alone is on anything wider than a single door. A double-car torsion system uses two springs and two winding bars, and the calibration error tolerance shrinks because the door weighs twice as much. One misstep and the door is a two-panel replacement rather than a track adjustment.
We also offer $40 off any repair over $200 for the cases where a DIY install needs a correction. It won’t cover a full re-install, but it softens the blow. Garage Door Repair in Mesquite covers the specifics on repair pricing if you’re at that point.
The Safety Math: When to Stop and Call
We’re going to be blunt. Torsion springs are not a DIY component. A torsion spring can store 200 to 300 pounds of force in a wound state, and if a winding bar slips out of the cone at the wrong moment, it becomes a flying steel rod. Professionals wear gloves and safety glasses even for this, and they don’t stand in line with the spring while it’s under load. The numbers on garage door injuries treated in emergency rooms each year are not small, and most of them are homeowners working around springs.
Extension springs are different. They’re safer to work around because they’re not stored under the same rotary load, and a single-car door using extension springs is genuinely within reach of a competent homeowner. Even then, three rules apply:
- Never stand under the door when the springs are under load
- Never wind a torsion spring without a proper set of bars and someone standing by
- Never install a door by yourself – not once, not even on a “small” door
If your existing door is over 10 feet wide, if it uses torsion springs, if it’s on a home older than about 20 years where the framing has settled, or if your opener isn’t already calibrated – stop and call. That’s not us trying to sell you a service. That’s the honest line.
What Our Written Guarantee Covers, Plainly
We write the 90-Day Done Right Promise on every invoice. If something we installed doesn’t work the way it should within 90 days, one call brings us back, and we fix it. No runaround, no claim form, no hold music. That covers parts and labor on the installation – if a spring we installed breaks in day 60, we replace it. If the opener we wired up doesn’t reverse, we come back and calibrate it.
What it doesn’t cover: misuse, damage from a car hitting the door, and normal wear on parts that have their own manufacturer warranty. If you install the door yourself, you have neither of those – you have the manufacturer’s warranty on the door panel and nothing on labor. That gap is what most people don’t think about until they need it.
We also give a free second opinion on any written estimate, no trip charge inside the county. If another company quoted you a number and it feels off, call us with it in hand. We’ll tell you straight whether it’s fair. We’ll also hold our own price from the phone call to the driveway – what we quote on the call is what you pay at the door. That part shouldn’t have to be a selling point, but here we are.
All of this runs the way Otto runs the shop, and you can see the shape of it from the Otto’s Garage Door Mesquite home page.
Common Mistakes to Avoid
- Eyeballing spring tension. “It holds halfway open, that’s good enough” is the phrase that leads to a dropped door in week two. Tension needs a gauge, not an eye.
- Skipping the safety reverse test. The opener’s 2×4 and photo-eye test are the only things standing between a child and a 200-pound door. Skip them and you’ve built a hazard.
- Using the wrong winding bars. The cheap ones sold at big box stores have the wrong steel hardness and slip on the winding cone. Slip means a bar flying across the room.
- Installing alone. Every failed DIY install we’ve seen in Mesquite involved one person trying to lift a panel and guide it into a track at the same time. Two people is the floor, not a suggestion.
- Not matching the spring to the door’s actual weight. The door’s spec sheet gives the door’s weight – not the installed weight with hardware, hinges, and rollers. Those add 15 to 30 pounds, and the wrong spring will pass the halfway test and fail the six-week test.
- Forgetting the opener force calibration. A properly hung door can still be dangerous if the opener is set wrong. Get the manual, follow the force-limit procedure, and re-test the reverse.
- Ignoring the heat factor. Mesquite summers are harder on a miscalibrated install than most climates. Springs wind differently at 115 degrees than they do at 75, and a spring tuned for a mild day will run slack when the garage heats up. If you’re installing in summer, expect to re-check tension by fall.
When to Call a Professional
Call us when the door is over 10 feet wide. Call us when the system uses torsion springs. Call us when the existing door is on a home older than 20 years or has visible framing damage. Call us when you don’t have two winding bars, a tension gauge, and a second adult lined up. Call us when you’re not sure about the opener force calibration. And call us if you’ve already installed a door, it worked for a week, and now something’s off – the earlier you catch a tension problem, the cheaper it is. We offer free estimates in Mesquite and no trip charge inside the county. We’re local and answer the phone live around the clock, so when a spring lets go at nine at night and your car is sealed inside, you’re getting Otto, not a call center. Call (844) 320-6569.
See the difference
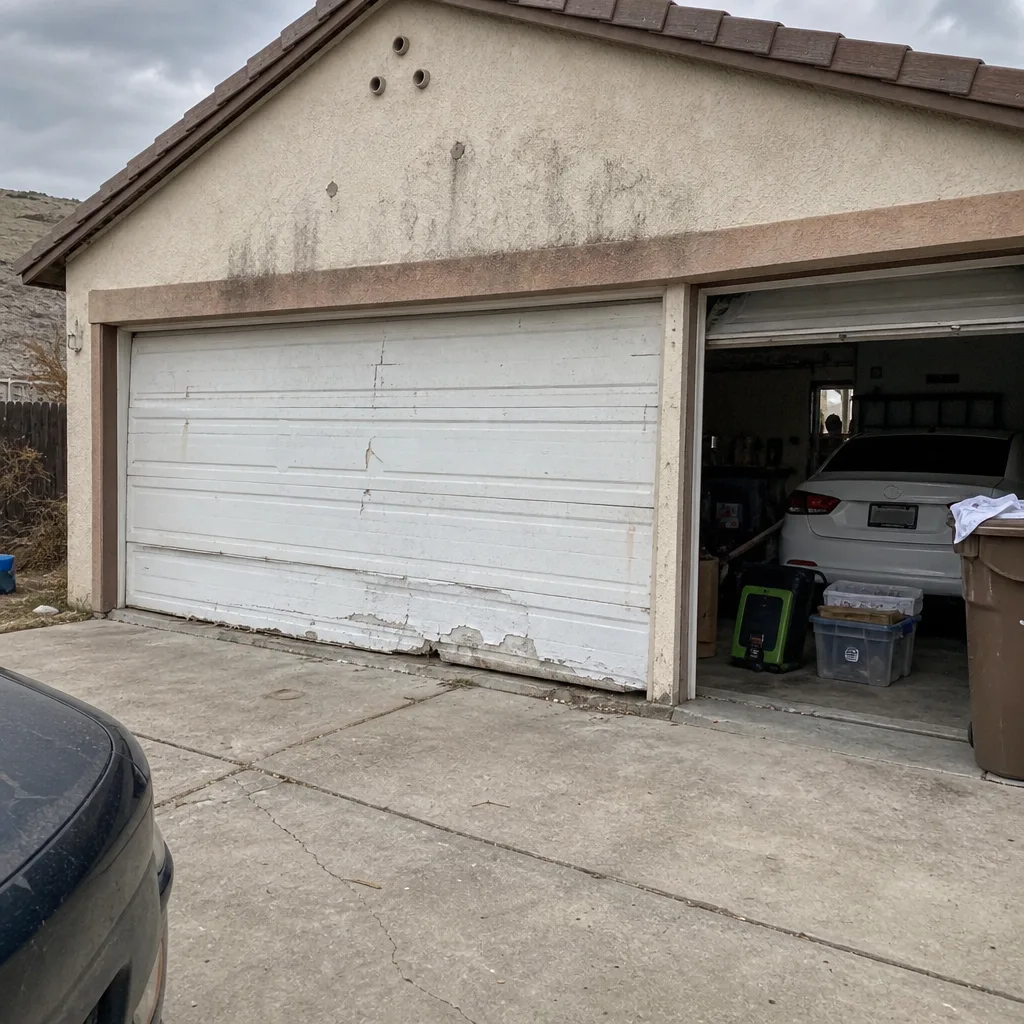 Before
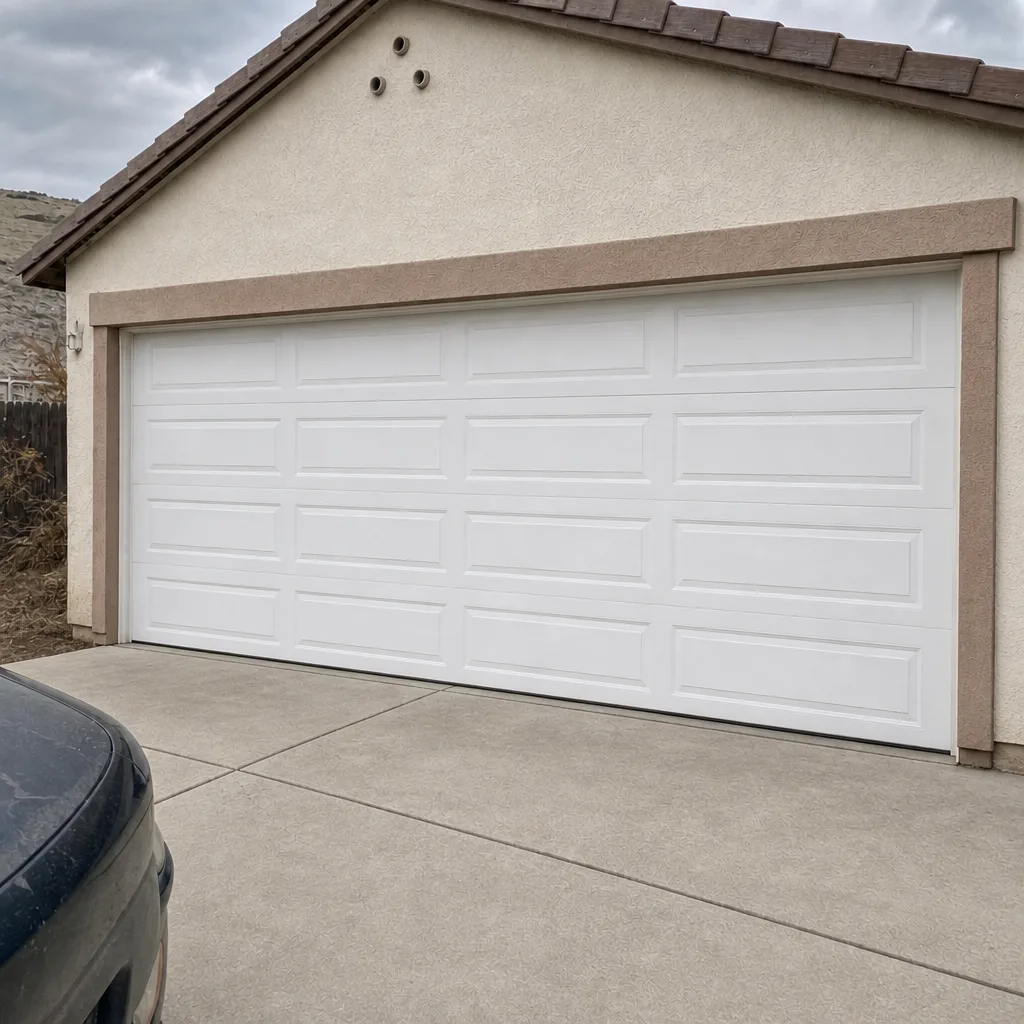 After
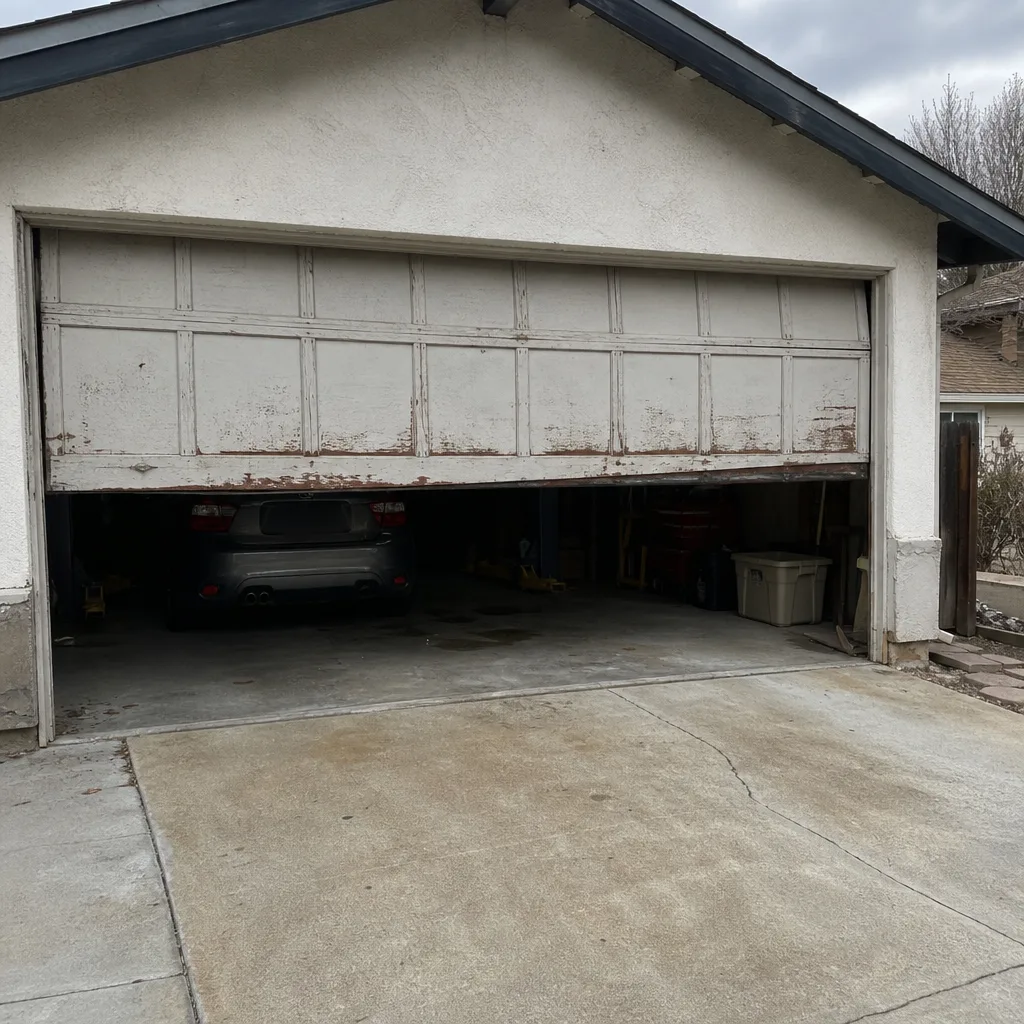 Before
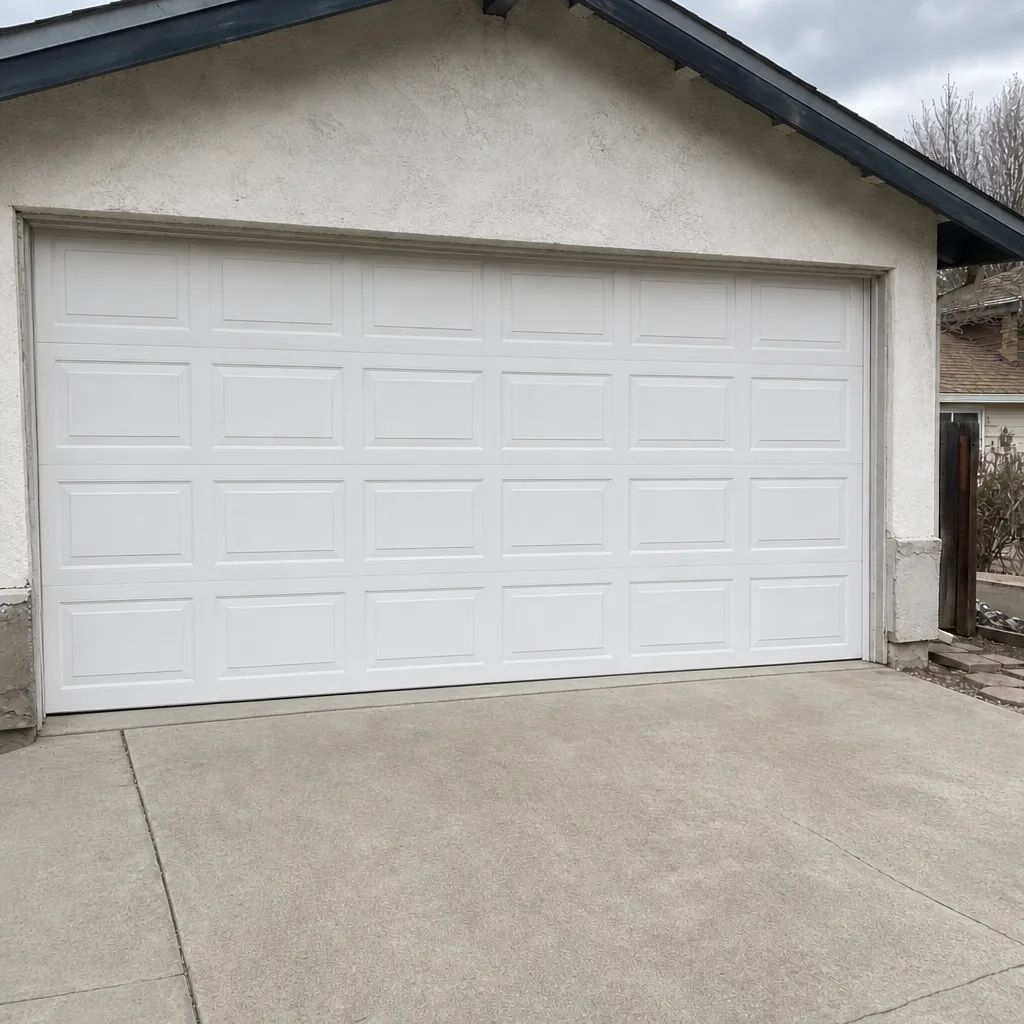 After
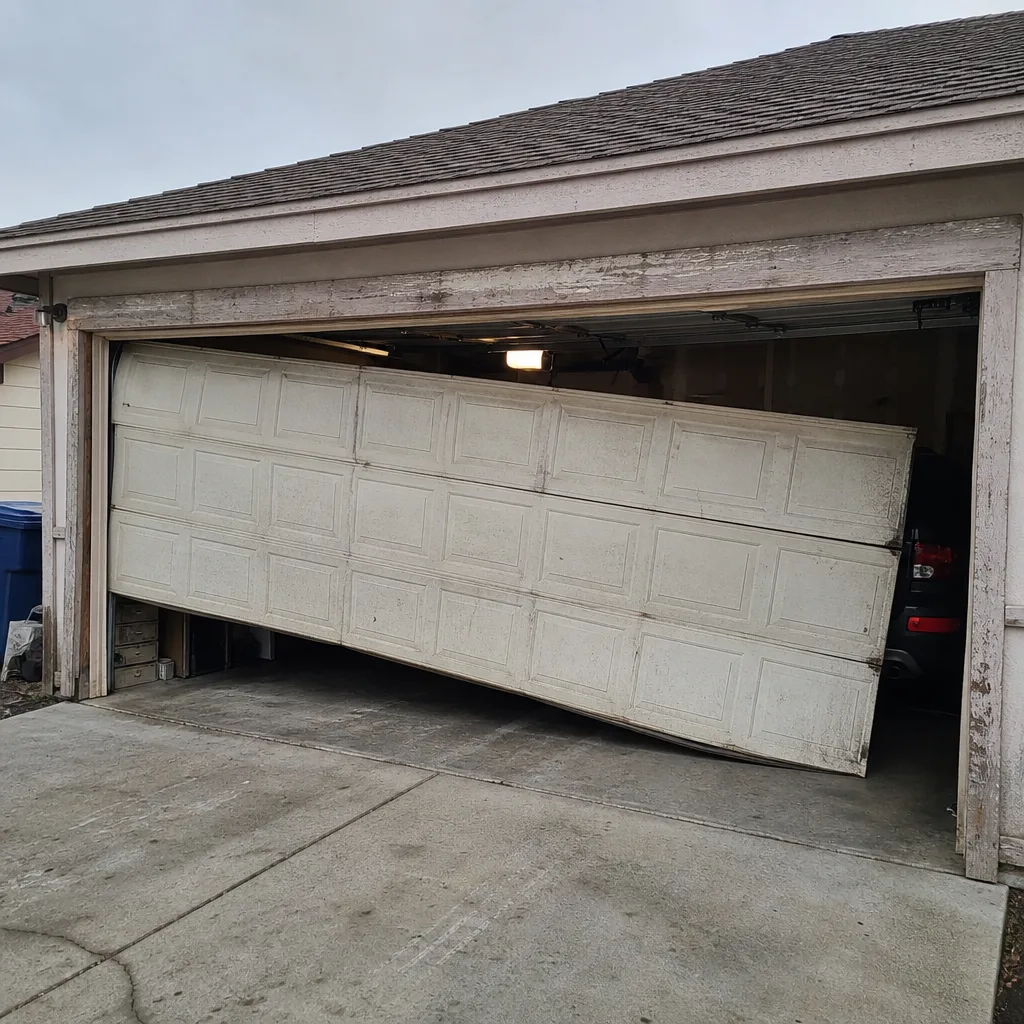 Before
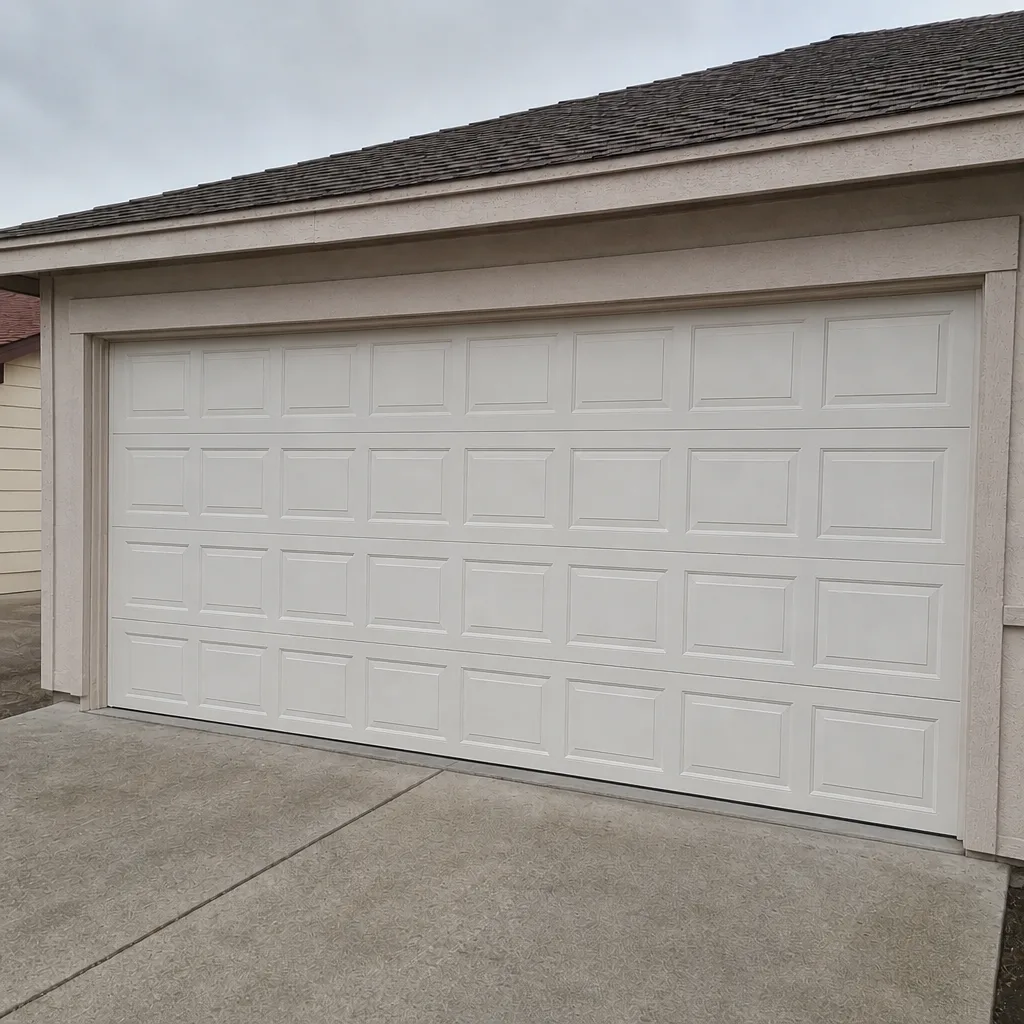 After
Frequently Asked Questions
Yes, but only on a single-car door using extension springs, with two adults, the right tools, and prior experience reading spring tension. Anything wider, any torsion spring system, or any install on a home older than about 20 years should go to a professional. Call (844) 320-6569 for a free estimate if you’re not sure which side of that line your door falls on.
Professional installation labor in Mesquite typically runs $400 to $900 on a single-car door, and $700 to $1,400 on a double-car door, on top of the door itself. The door runs $600 to $1,400 for single-car and $1,100 to $2,500 for double-car depending on material. Call (844) 320-6569 for an exact quote – estimates are free and there’s no trip charge inside the county.
No. A torsion spring stores 200 to 300 pounds of force when wound, and a slipping winding bar can cause serious injury. Even experienced installers use gloves, safety glasses, and a spotter. Call us and we’ll handle it – the winding step is the one we don’t recommend for anyone working on their own door.
If the door doesn’t hold position at roughly halfway open, if a cable jumps the drum, if the opener strains or trips, or if you can hear the door binding on one side, the tension is off. A door that worked for a week and then started acting up is almost certainly a tension problem. Call us and we’ll read the tension with a proper gauge – no charge for the assessment inside the county.
Sometimes – and sometimes less, once you count the winding bars, tension gauge, second ladder, and the likelihood of a callback repair in year one. On a single-car door, the two columns often land within a few hundred dollars of each other. On a double-car door or a torsion spring system, professional install is usually the lower total cost.
The 90-Day Done Right Promise covers the parts and labor we installed, for 90 days from the installation date. If something fails in that window, one call brings us back to fix it at no charge. It doesn’t cover misuse or vehicle damage, and it holds the opacity 90 days from install. Call (844) 320-6569 and we’ll walk you through exactly what your specific door’s guarantee would say before we ever start the work.
The Bottom Line
DIY installation on a garage door isn’t impossible – it’s just narrow. Single-car door, extension springs, two people, right tools, and enough experience to know what a properly tuned spring feels like. Outside that box, the math stops working: the tools cost as much as the labor, the failure rate climbs, and the safety margin shrinks. Spring tension is the one step that separates a real install from a delayed failure, and it can’t be eyeballed. In Mesquite, the heat gives less room for error than most install guides assume. The job is 200 pounds riding on two springs, and we’d rather see you get it right the first time.
If you’re ready for a quote – or just want a second opinion on an estimate you already have – call (844) 320-6569 or reach out through Garage Door Repair in Mesquite. Estimates are free, no trip charge inside the county, and a person answers the phone.
Written by the team at Otto’s Garage Door Mesquite.